
If you prefer using Oxygen’s UI for styling elements rather than writing out CSS, but need more advanced targeting of elements, custom selectors can be ideal.
What do Custom Selectors do?
Oxygen’s UI is great for selecting elements and adding styles via their classes or ID, but styling with CSS isn’t always that simple. We often need more control over when and where the styles are applied.
Custom selectors in Oxygen give us that control, while still making use of all the visual controls available. We can use the selector detector tool, which is more visual, or we can create our own and have more flexibility.
Here are some use cases for creating our own custom selectors…
Targeting Elements only on Specific Pages
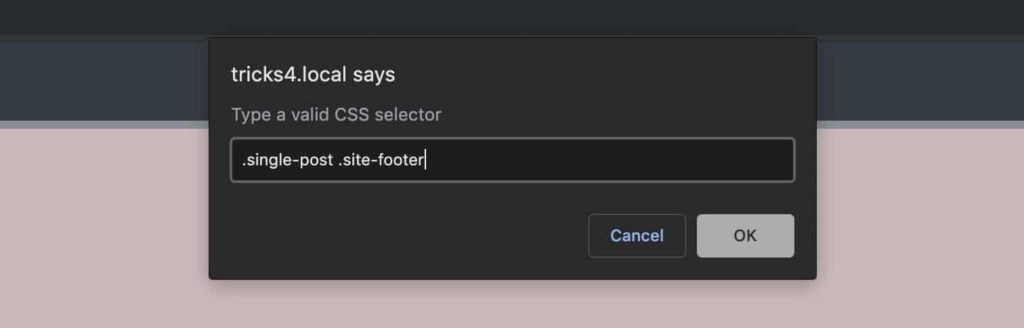
Let’s say we want to change the background colour of our site footer, but we only want to do this on single posts. We don’t need to create a whole new footer just for the single posts.
With a custom selector, we can target the footer only when it’s on single posts. (assuming we’ve given our footer the class ‘site-footer’.)
.single-post .site-footerThis works because WordPress automatically gives us the ‘single-post’ body class to work with on single posts.
We can add this in Oxygen by going to Manage > Selectors > Add New and typing in our selector.
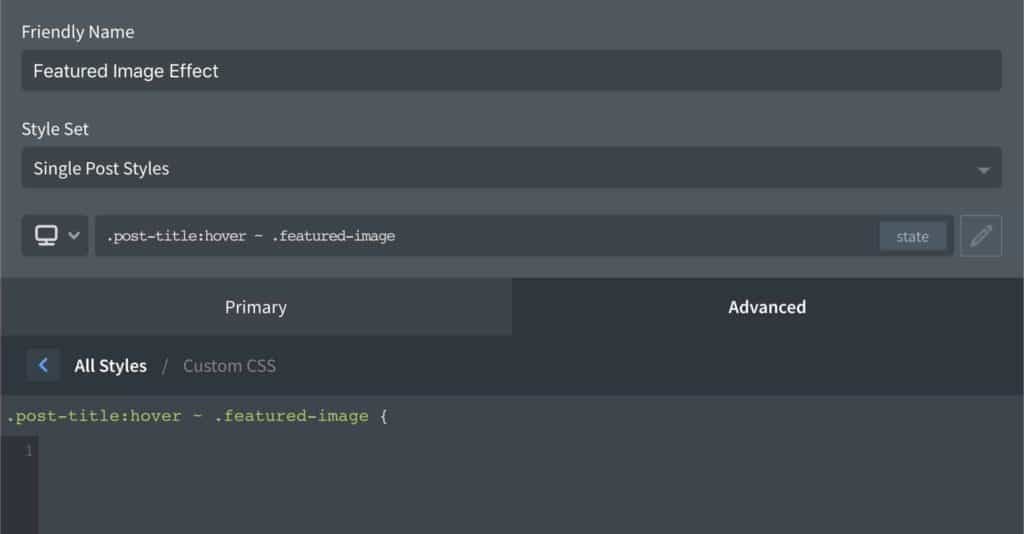
We can also give our selectors a friendly name so we don’t forget what it is for and categorise it in a style set so we know where to find it.
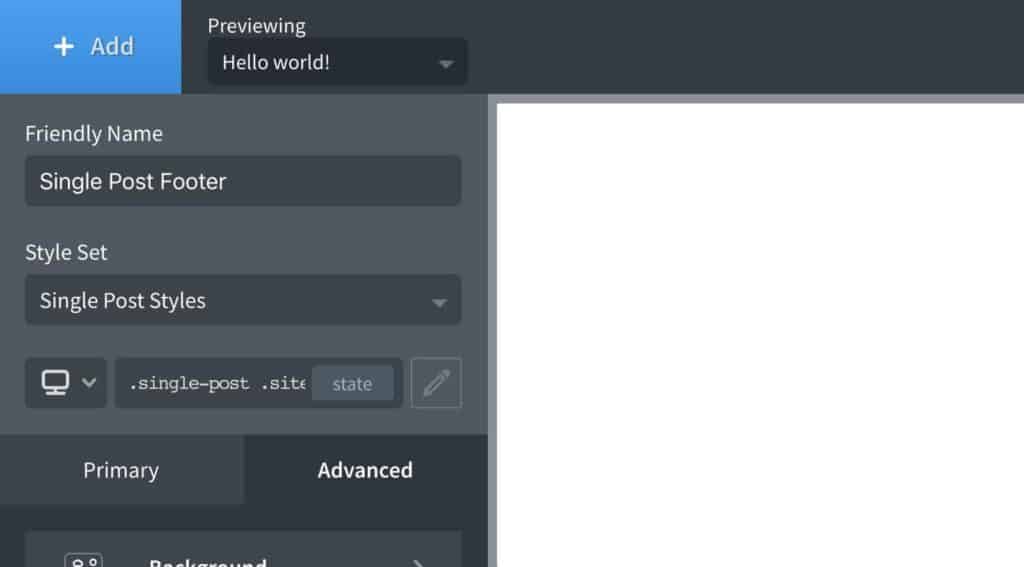
Now, this becomes the selector that we can style using all the familiar visual controls. When we change the background colour, we know that it won’t affect any other pages, just the single posts.
Applying Hover Effects to Other Elements
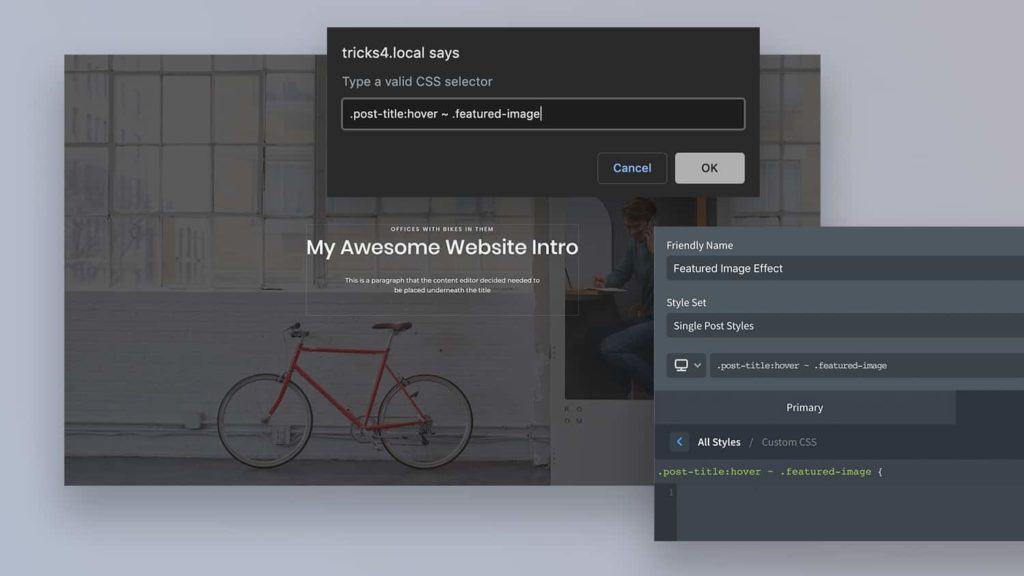
What if we want the user to hover over one element, which then causes a change on a different element. Let’s say we want to make it so hovering over a post title causes the featured image underneath it to transform in some way, or change opacity slightly.
We can add a custom selector to target the featured image only when the post title is hovered over, then use Oxygen’s UI to create our transforms/effects on this selector.
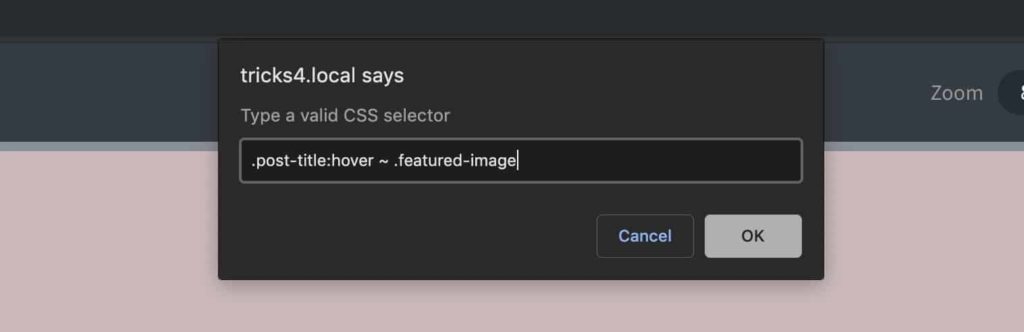
.post-title:hover + .featured-imageHere we’re using a sibling selector. The featured image must come directly after the post title in the structure for this to take effect. If the featured image comes after (is a sibling element), but not immediately after, then we use a different symbol instead.
.post-title:hover ~ .featured-imageWe can add to our list of custom selectors in the same way;
Now as we add our effects/transforms to this selector, we can be sure these styles are applied to the featured image only when user is hovering the cursor over the post title.
We can use the visual controls or add custom CSS as we can with any other selector.
Targeting Dynamic Content
WordPress sites are often dynamic. When building a site there are lots of unknowns to consider. How many posts will be published in this category? How long will the title of these pages be? How many testimonials will be on the product page?
The answer is usually we don’t know, but we can make smart use of selectors that will work well regardless of what content is added/edited.
Hero Section Example
Let’s say we have a welcome hero section that is the full height of the viewport (100vh), a nice big hero image or video.
Inside the welcome section, we have some content that needs to be perfectly horizontally & vertically aligned.
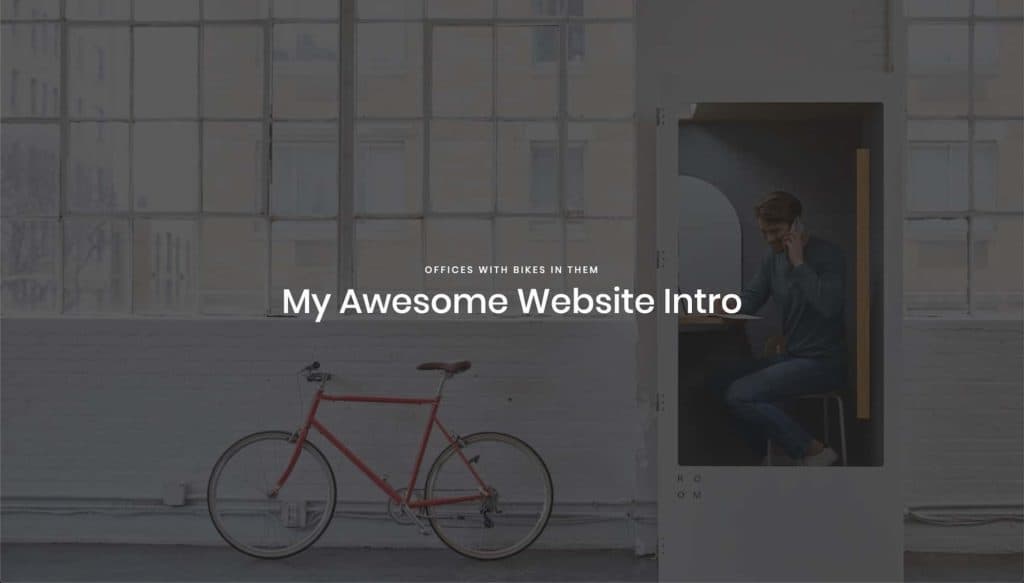
We can do this easily with flex controls, but a problem can arise when dynamic content is added. What if a content editor decides they need to add a paragraph to that section underneath the header?
All of a sudden, the new paragraph has a margin (like paragraphs do) causing the content to lose it’s vertical center alignment. (Outline added to the image below to make it more obvious)
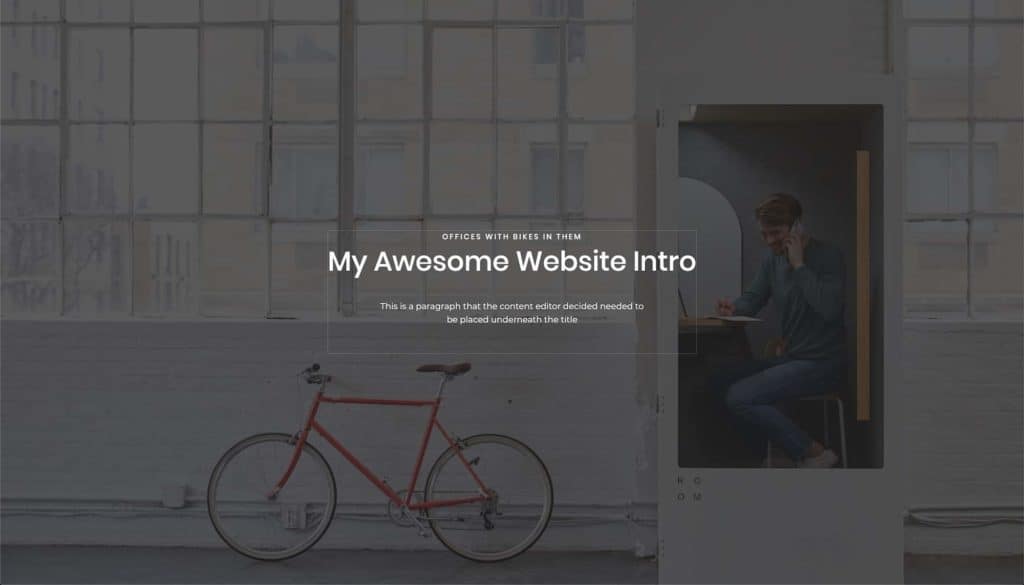
Huge problem? Not really. But this is a simple example of how dynamic content can mess up layouts and these types of misalignments can easily add up when everything on the page is dynamic.
For this example, we need a way to target that last paragraph to make sure there is no margin at the bottom throwing things off.
Note — We only want to target a paragraph if it’s the very last element because if two paragraphs were added, we would still need the first paragraph to retain it’s margin.
Again, custom selectors can be useful here. We can create a new selector that targets just that last paragraph inside that welcome section and then use Oxygen’s controls to set the margin-bottom to zero.
.welcome-section .ct-section-inner-wrap p:last-childTaking this logic further though, maybe we don’t know what the last element is going to be. Maybe the content editor decides to add another heading or an image and now that becomes the last item.
We can be more generic and use this;
.welcome-section .ct-section-inner-wrap *:last-childNow regardless of what element is added last, after we set the margin-bottom to zero, we can be sure the content remains perfectly centered. We’ve created a much more robust layout that won’t break.
Obviously you can go overboard with this, but I find it’s useful to think in this way when dealing with dynamic content, especially when it has the potential to break layouts.
All done
Obviously CSS selectors is a huge topic on its own. I really just wanted to show some examples of how custom selectors can be useful in Oxygen when you’re wanting to stick to using the visual UI.
If combining selectors like the examples above is new to you, I recommend reading through the simple examples in W3schools and then researching ‘sibling selectors’ to find lots of examples online.