This members-only tutorial provides the steps to load UIKit and show images in an Advanced Custom Fields' Repeater-type field as a slideshow with Ken Burns effect in Oxygen.
Step 1
Let's load UIKit.
Install and activate My Custom Functionality plugin.
a) Upload uikit.min.css to the plugin's assets/css directory using a FTP client or cPanel file manager.
b) Upload uikit.min.js and uikit-icons.min.js to the plugin's assets/js directory.
c) Edit plugin.php file and replace the code inside custom_enqueue_files() with
wp_enqueue_style( 'uikit', plugin_dir_url( __FILE__ ) . 'assets/css/uikit.min.css' );

wp_enqueue_script( 'uikit', plugin_dir_url( __FILE__ ) . 'assets/js/uikit.min.js', array(), '3.6.10', true );
wp_enqueue_script( 'uikit-icons', plugin_dir_url( __FILE__ ) . 'assets/js/uikit-icons.min.js', array( 'uikit' ), '3.6.10', true );
Step 2
Let's set up ACF.
Install and activate ACF Pro.
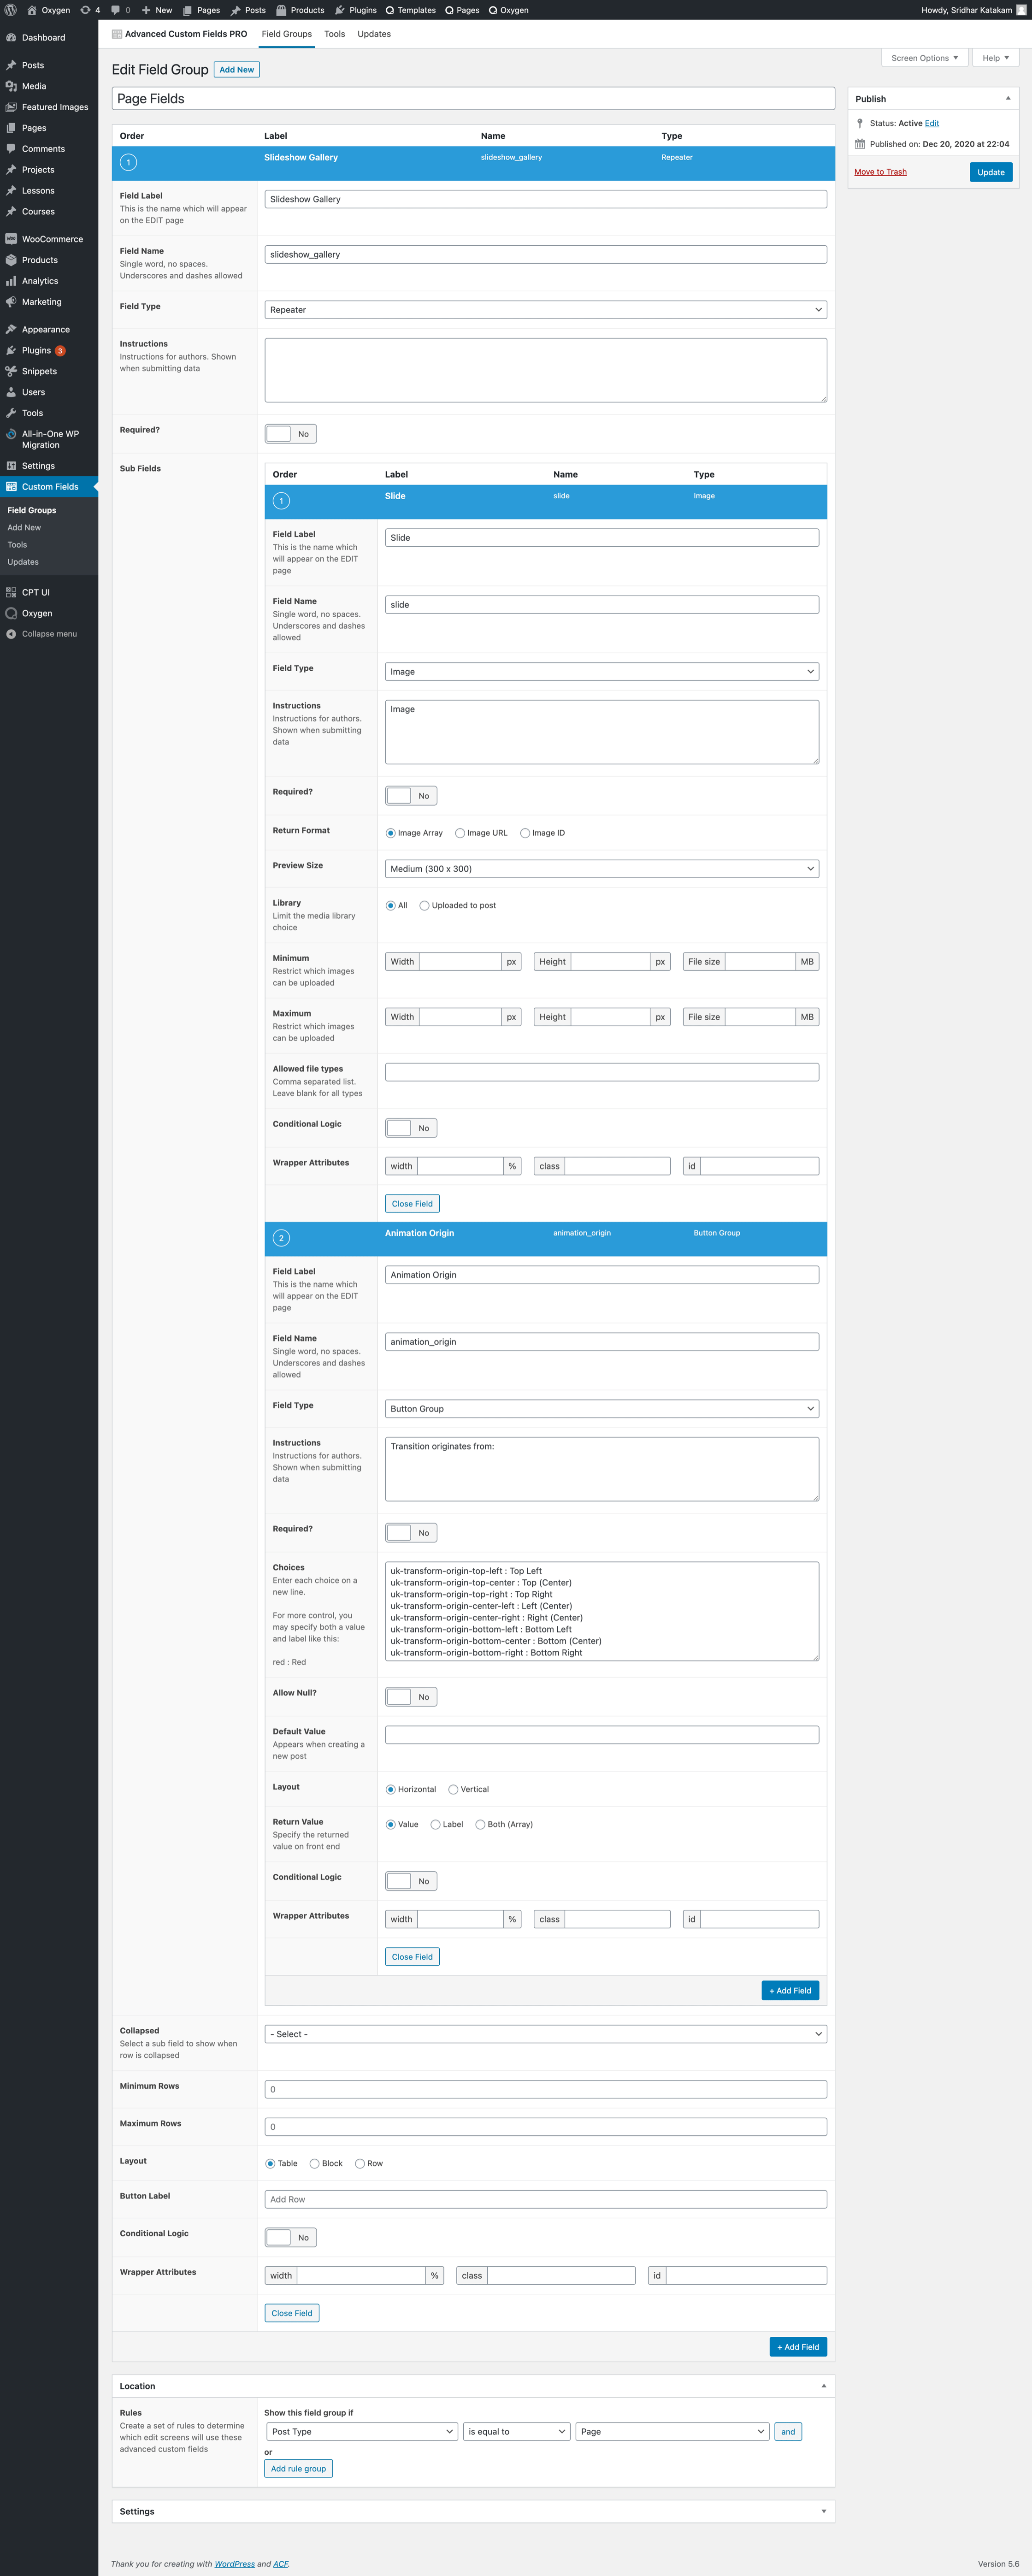
Go to Custom Fields > Tools and import this (mirror) field group.

Step 3
Let us register a custom size for images in our slideshow.
In My Custom Functionality's plugin.php, add at the end:
add_image_size( 'slideshow_gallery', 1800, 1200, true );Change the width and height values as needed.
Regenerate thumbnails if necessary i.e., if you are planning on using images already present in the library before adding this code.
Step 4
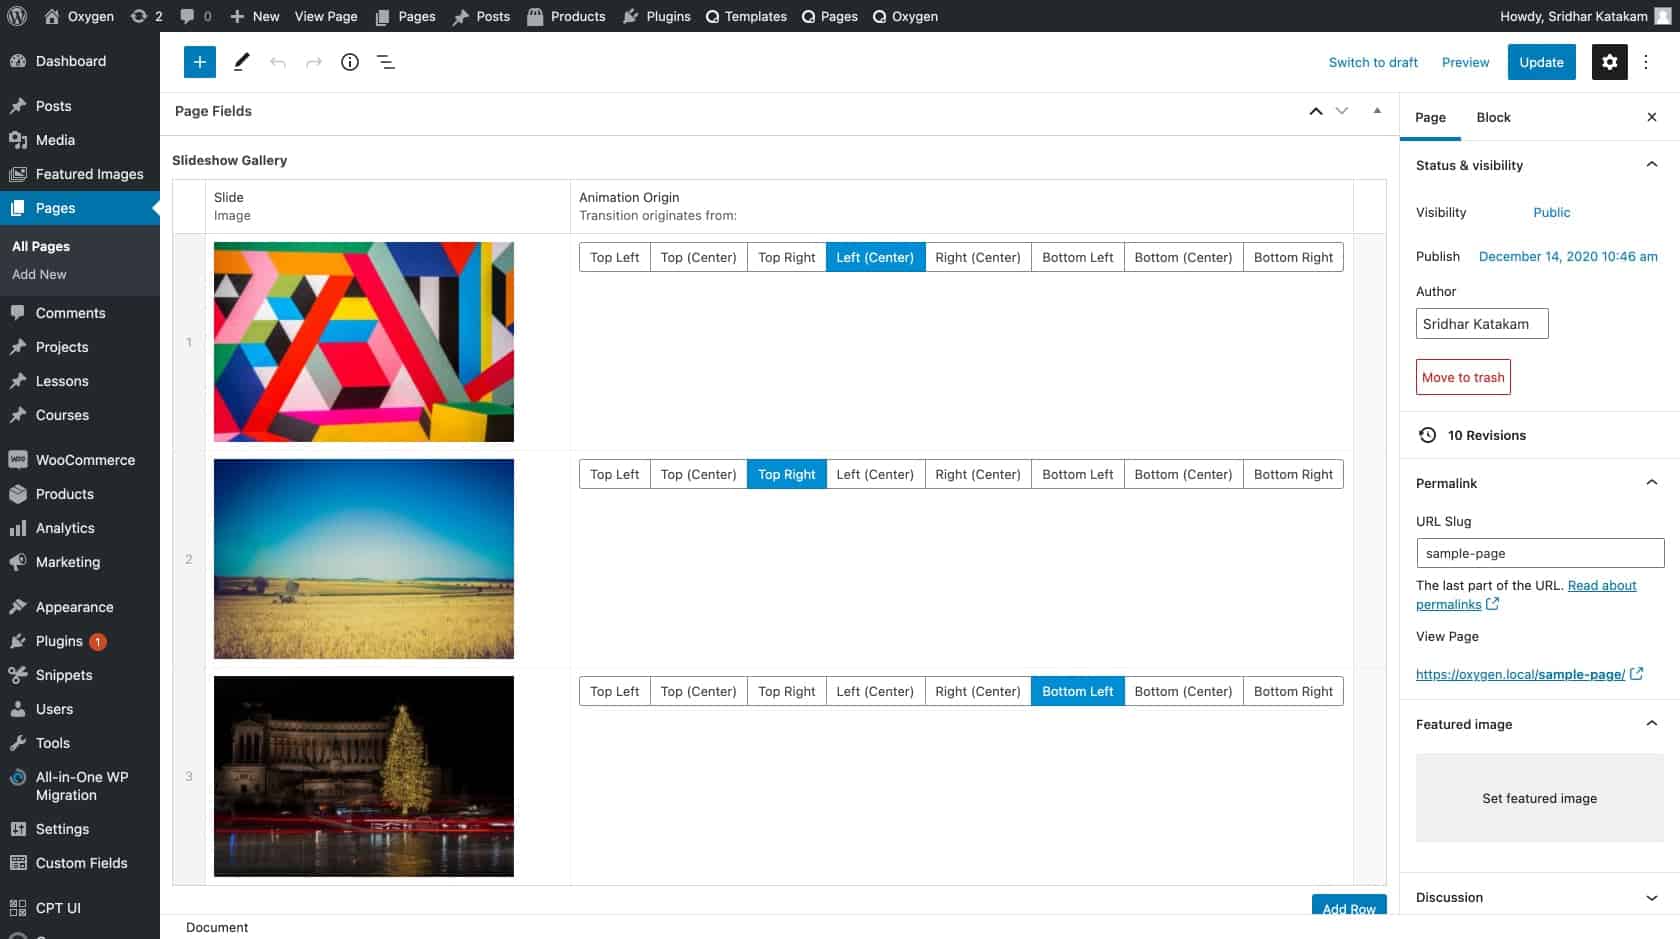
Edit your Page(s) and add rows in the Slideshow Gallery meta box.

Step 5
Edit the Template that applies to all Pages or a specific Page with Oxygen.
Add a Section and a Code Block inside that.
Set the Code Block's width to 100%.
PHP & HTML:
This is a premium members-only content.
To view the rest of the content, please sign up for membership ($47/month or $599 one-time).
Already a member? Log in below or here.