This members-only tutorial provides the steps to set up a Flexible Content field using Advanced Custom Fields Pro having multiple layouts enabling the site owners to drag and drop the rows in their desired order in Oxygen.
Note
We are going to write a lot of code inside a Code Block to make this work. It is not possible to use GUI options in Oxygen to output the values of fields and sub fields of ACF Flexible Content.
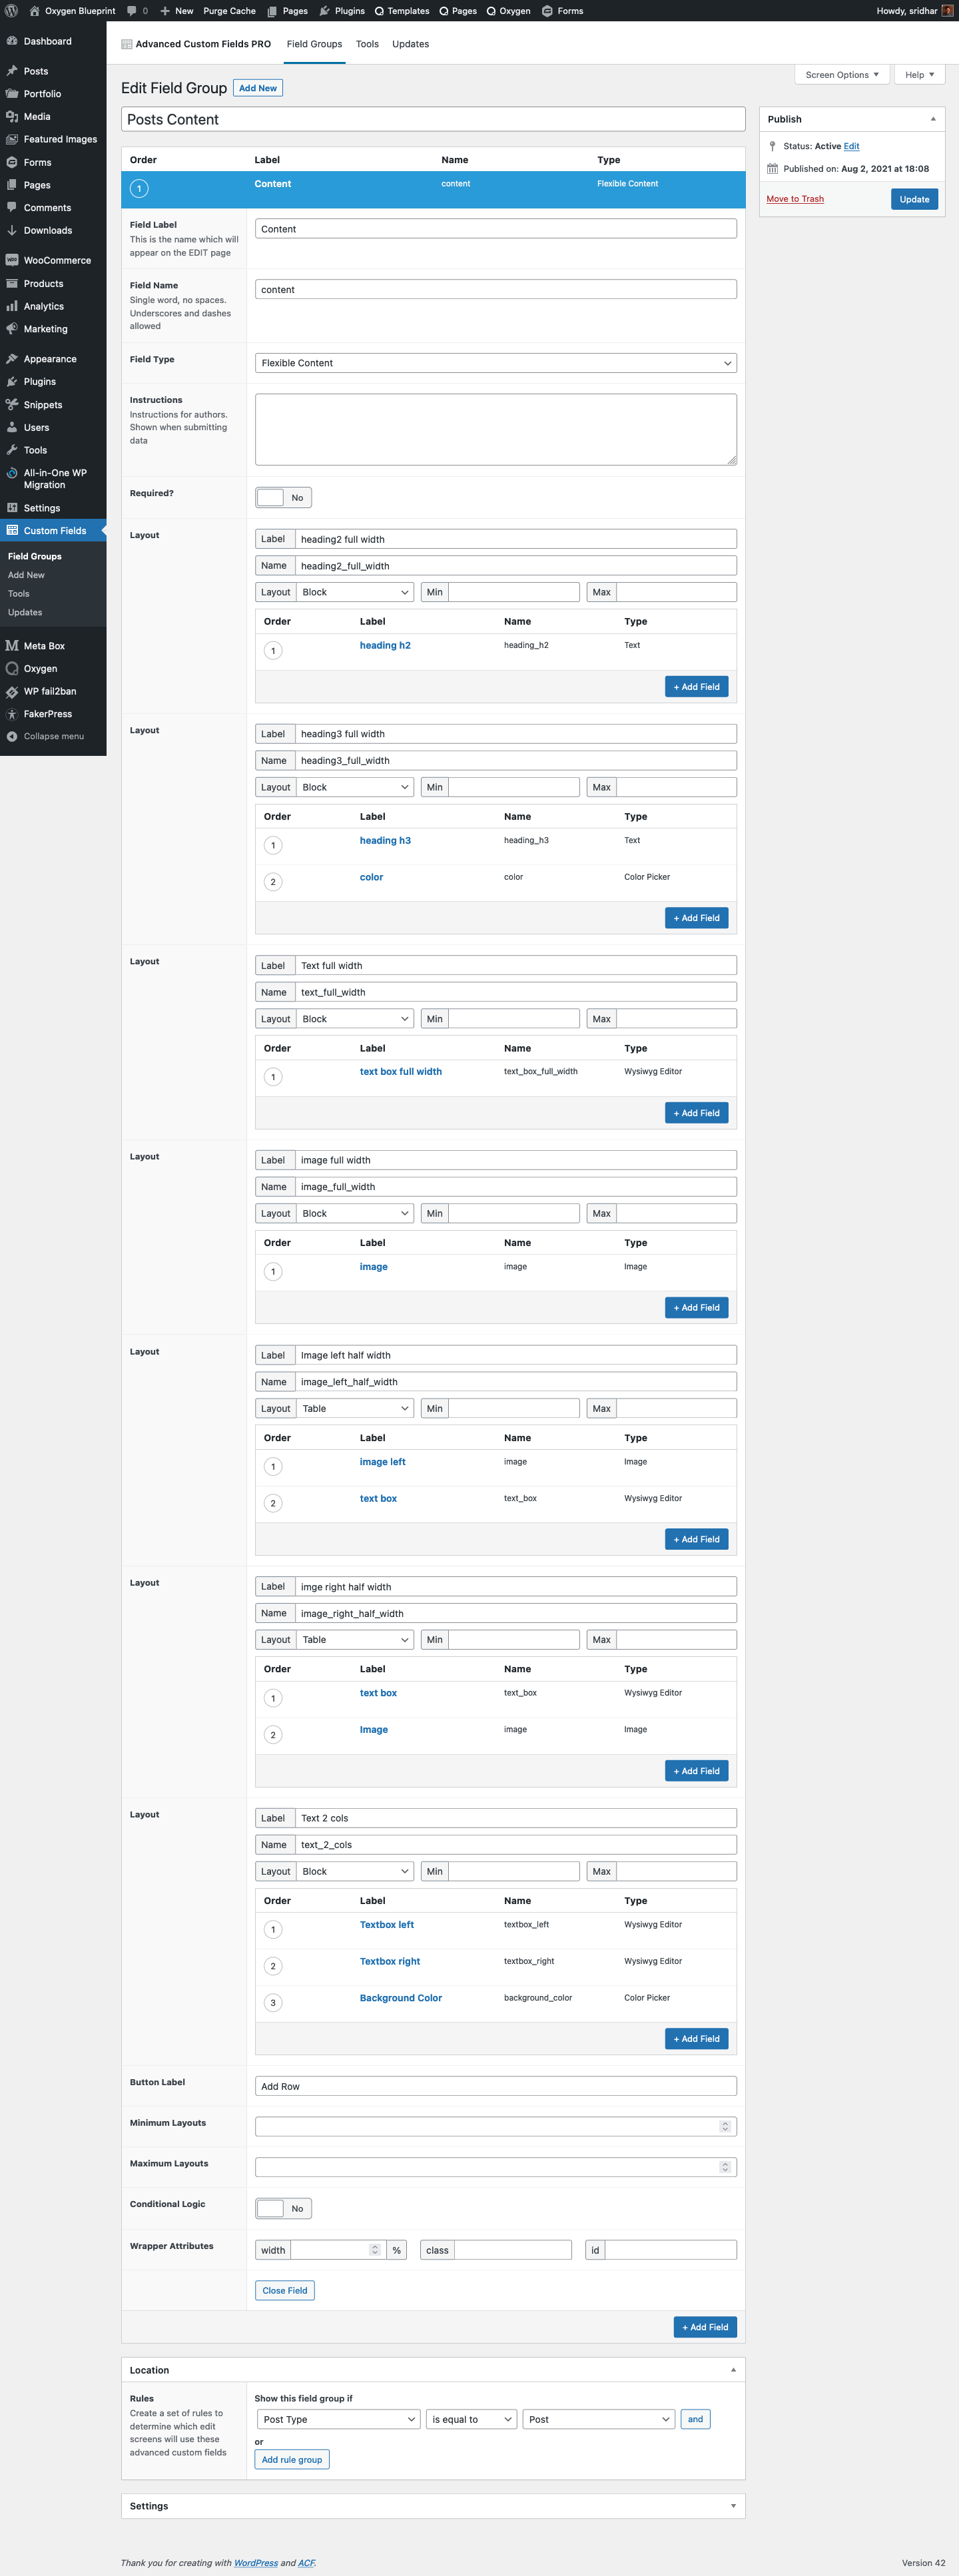
We shall register a field group having the following layouts (with sub fields for each listed):
- Heading 2
- Text - Heading 3
- Text
- Color - Text Full Width
- Wysiwyg Editor - Image Full Width
- Image - Image Left Half
- Image
- Wysiwyg Editor - Image Right Half
- Wysiwyg Editor
- Image - Text 2 Columns
- Wysiwyg Editor (for left text)
- Wysiwyg Editor (for right text)
- Color Picker (for background color)
Field Group:

A post in the backend with the fields populated:

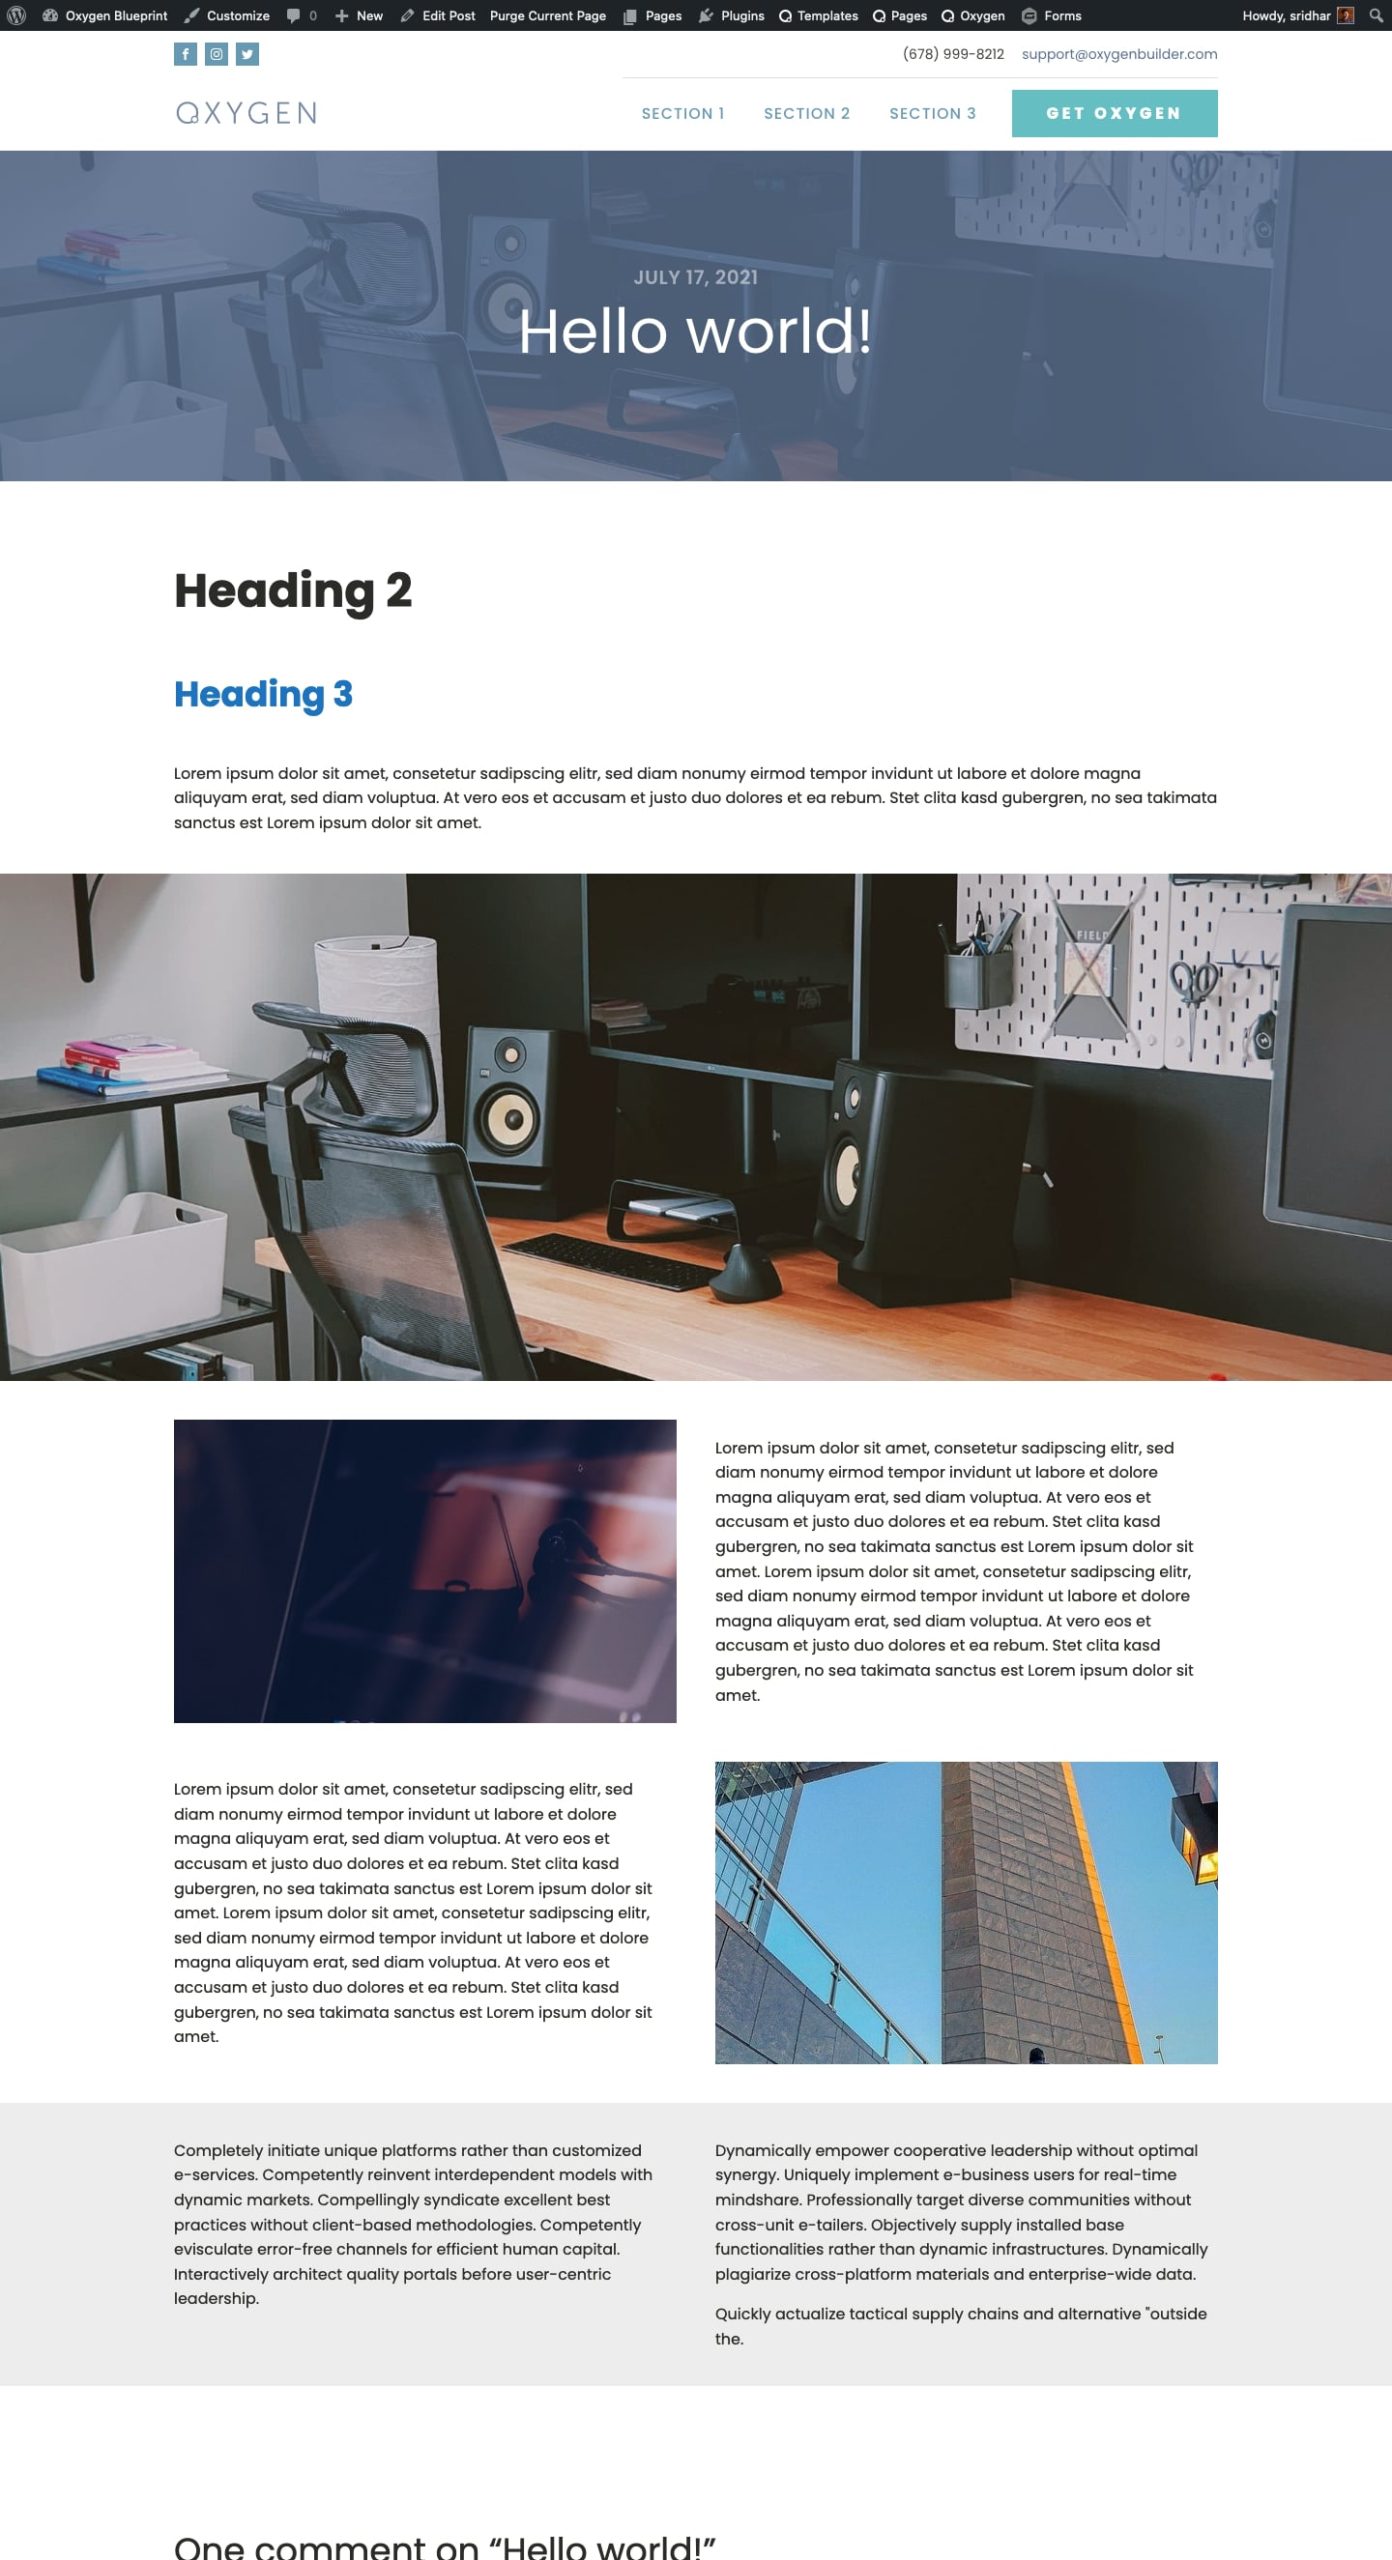
Frontend:

Note: There are infinite number of ways in which Flexible Content field can be configured with different combinations of rows and sub fields. This tutorial is to be treated as a general guide. You are encouraged to go through the code and understand how it's put together so you can output any type of Flexible Content in your sites.
Step 1
Install and activate ACF Pro.
This is a premium members-only content.
To view the rest of the content, please sign up for membership ($47/month or $599 one-time).
Already a member? Log in below or here.