
This members-only tutorial provides the steps to display blog posts in a timeline when using Oxygen.
We shall edit the Oxygen Template that is applied to Blog Posts Index and add custom and CSS in the Easy Posts element.
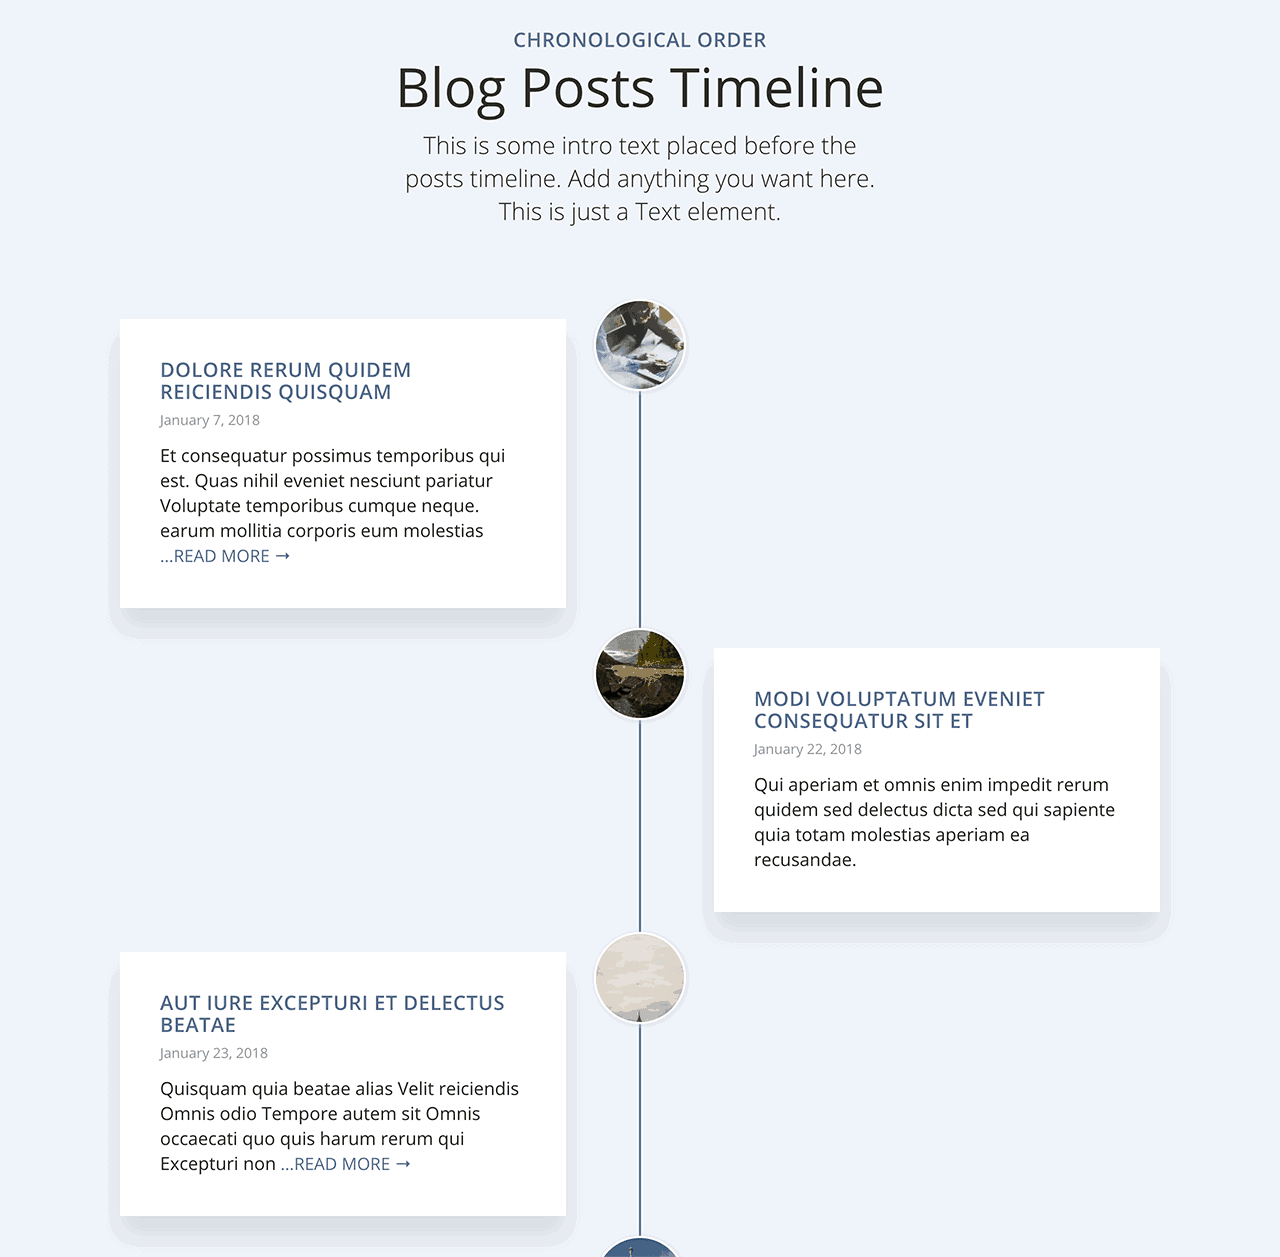
Animate On Scroll Javascript library will be used for the scroll animations.
Finer details:
- pre_get_posts action hook is used to make the blog posts appear in chronological order i.e., older posts at the top.
- The image is the featured image. For posts that do not have one, a fallback image will be set. Image links to the single post.
- On smaller screens, posts will appear one below the other with the image positioned in the bottom center.
- Styling for pagination is included.
Step 1
Create a Page titled say, "Blog" and set it as Posts page at Settings > Reading.
Step 2
Go to Oxygen > Templates.
Add a Template named say, "Blog".
Set it to inherit the design from your Main Catch All Template.
Apply it on Blog Posts Index.
You may have to set a priority value 1 or higher to override a more generic Archives Template if present.

Step 3
Edit the Blog Template.
a) Add a Section.
Background Color: #eff4fb
Horizontal Item Alignment: Center
Advanced > Typography > Text Align: Center
Add any elements like a Heading or Text that you would like to show above the timeline.
Add an Easy Posts element.
Templates > Template PHP: