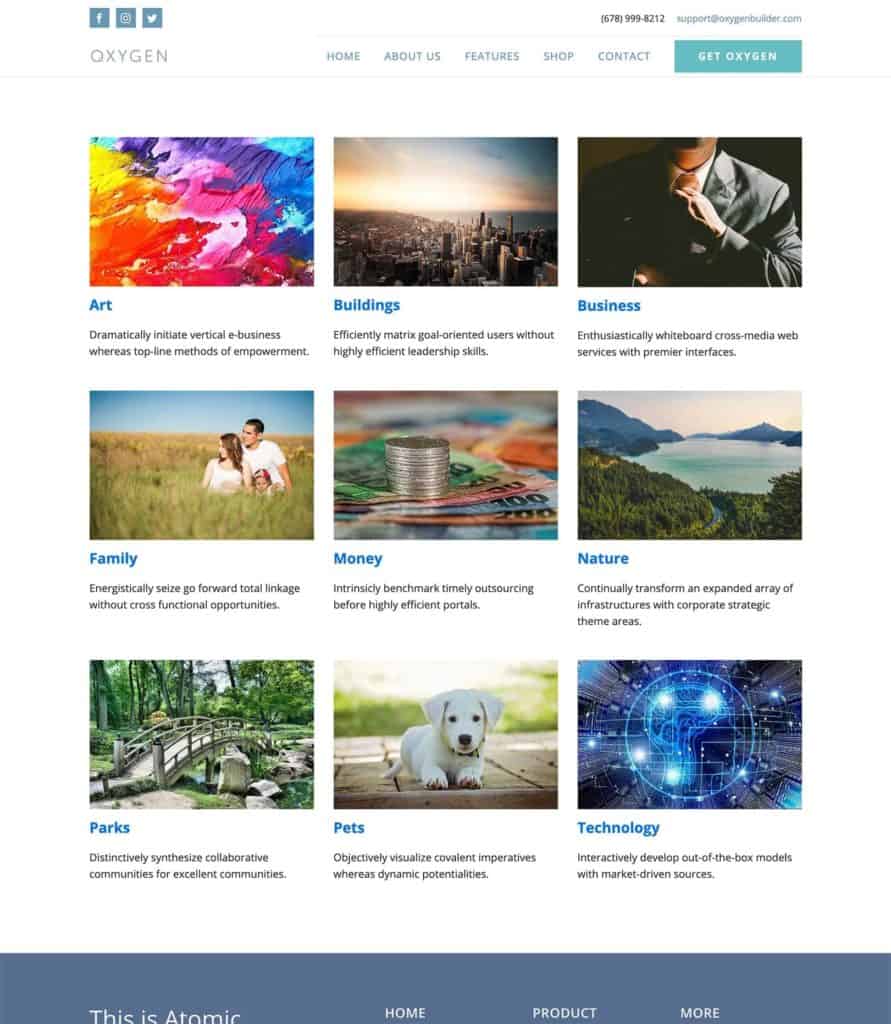
This members-only tutorial provides the steps to display a grid of top-level categories linking to their corresponding category archives on a static Page.

We shall write code in Oxygen's Code Block component that gets all the categories, loops through them one by one and outputs the linked category image, linked title and description, then use CSS Grid for the layout.
Step 1
Let us register a custom size for the images in the category grid.
Install and activate Code Snippets plugin.
Go to Snippets > Add New.
Title: Custom image sizes
Code:
add_image_size( 'category-image', 640, 426, true );Set the snippet to run everywhere. Save changes and activate.
If the images you want to set for the categories are already present in the media library before this step, regenerate thumbnails.
Step 2
We can either use ACF or WP Term Images to attach images to the categories. I will share the code for both these plugins.
Install and activate the plugin of your choice.
ACF
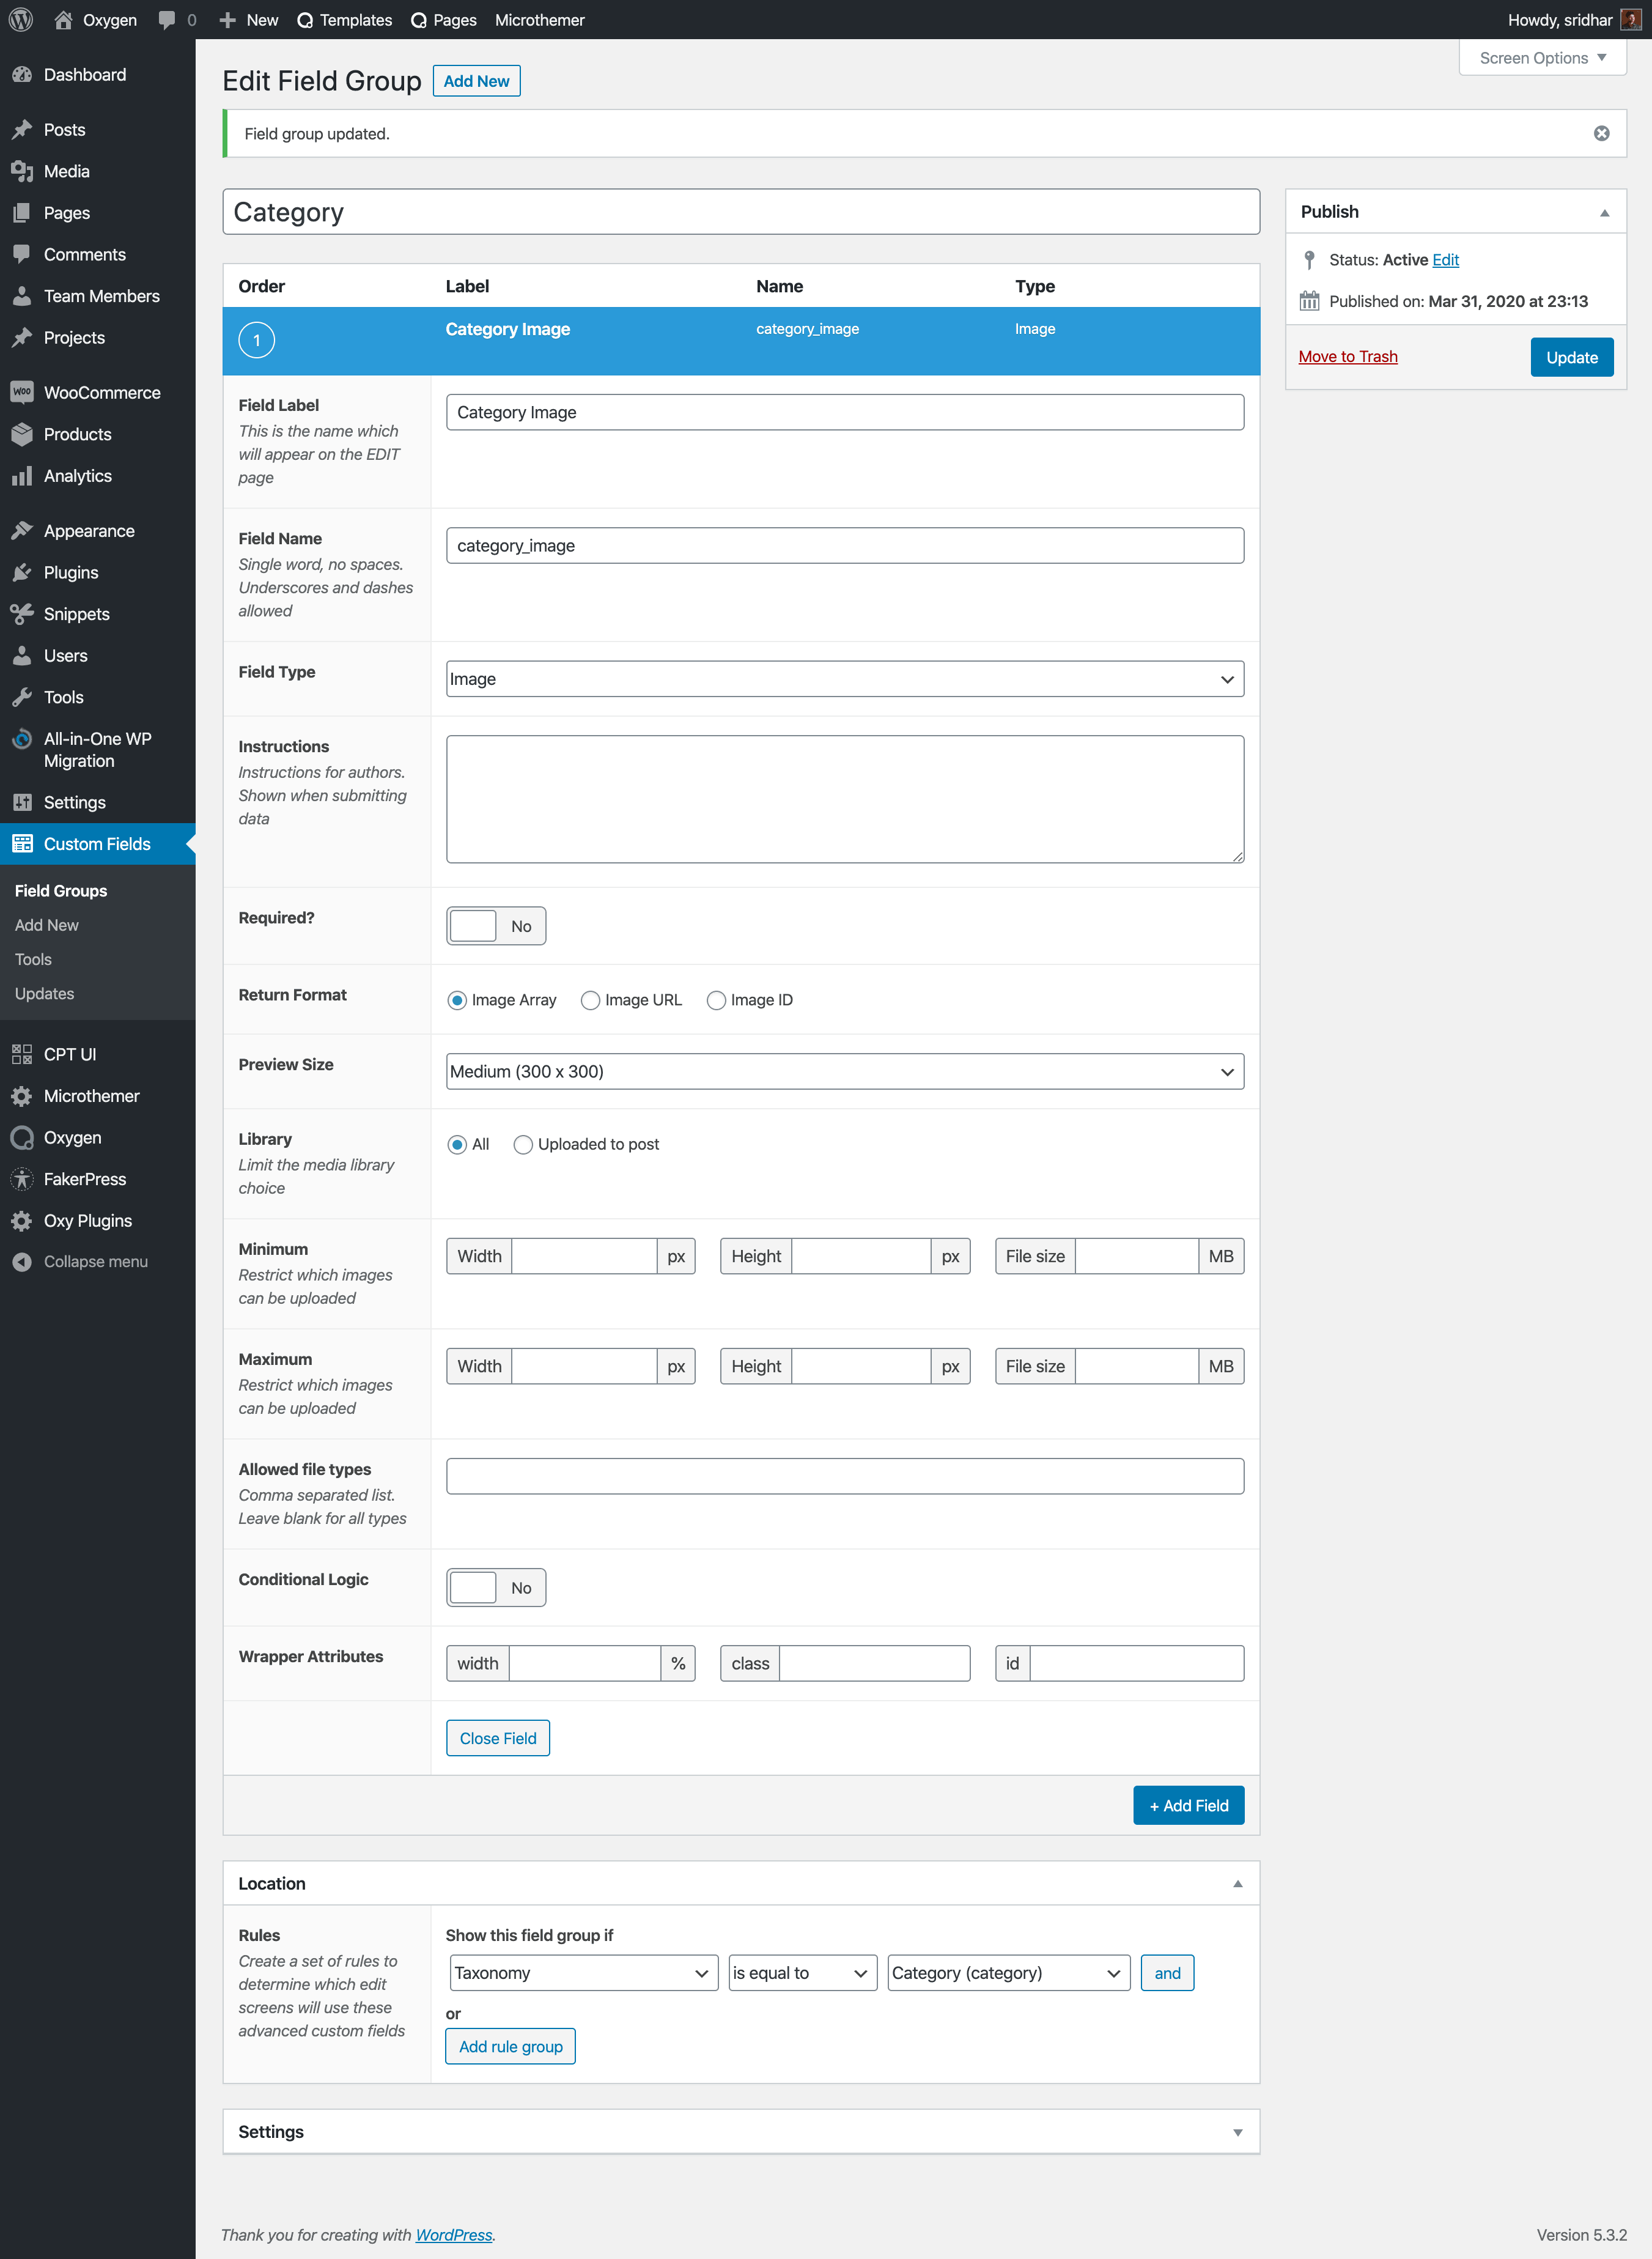
Create a new field group named say, "Category" having a category_image Image-type field with return format of array and set to appear on Category taxonomy.

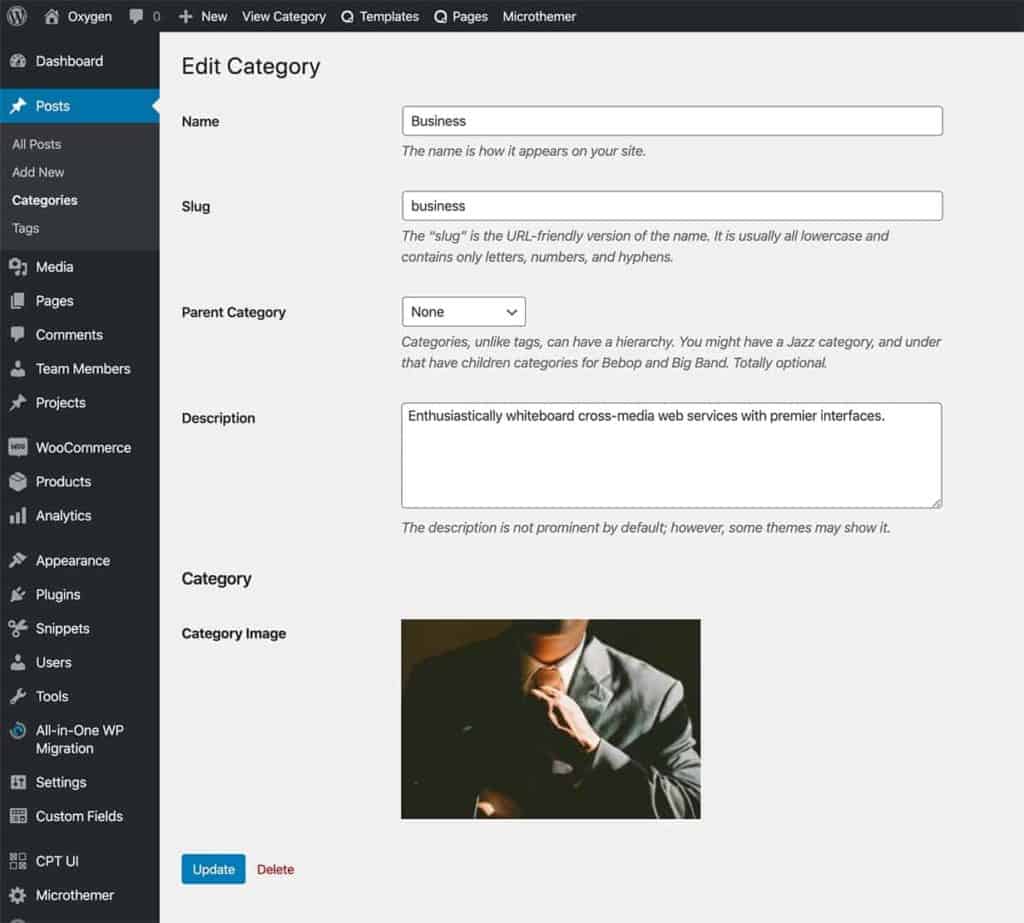
Edit your categories, enter the description you would like to show below the image in the grid and choose image for each.

WP Term Images
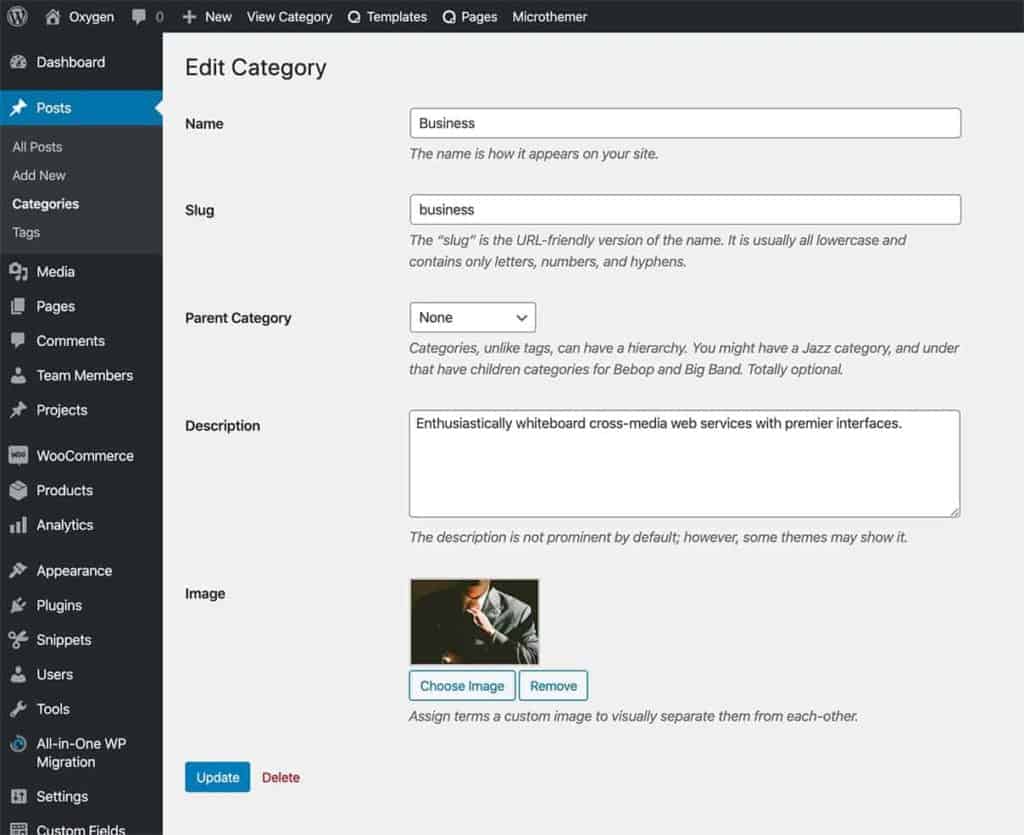
Edit your categories, enter the description you would like to show below the image in the grid and choose image for each.

Step 3
Create a Page in which you would like to place the categories grid.
In my test site, I used a Page titled "Blog" so that the URL of this page would be example.com/blog/.
Important: Do NOT set this as Posts page at Settings > Reading.
Edit this Page with Oxygen.
Add a Section and inside that a Code Block.
PHP & HTML
If using ACF
This is a premium members-only content.
To view the rest of the content, please sign up for membership ($47/month or $599 one-time).
Already a member? Log in below or here.