Updated on April 26, 2020
This members-only tutorial provides the steps to set up a centered logo that extends vertically beyond/below the header with menu items of a single navigation menu to its left and right in Oxygen.
The previous tutorial was for Oxygen's Menu component while this is for the newer Pro Menu component.

For lower breakpoints we shall show the logo at the left and hamburger at the right.
Step 1
Upload your logo image to the Media Library.
Step 2
Create/edit the menu you would like to show in the header's navigation.
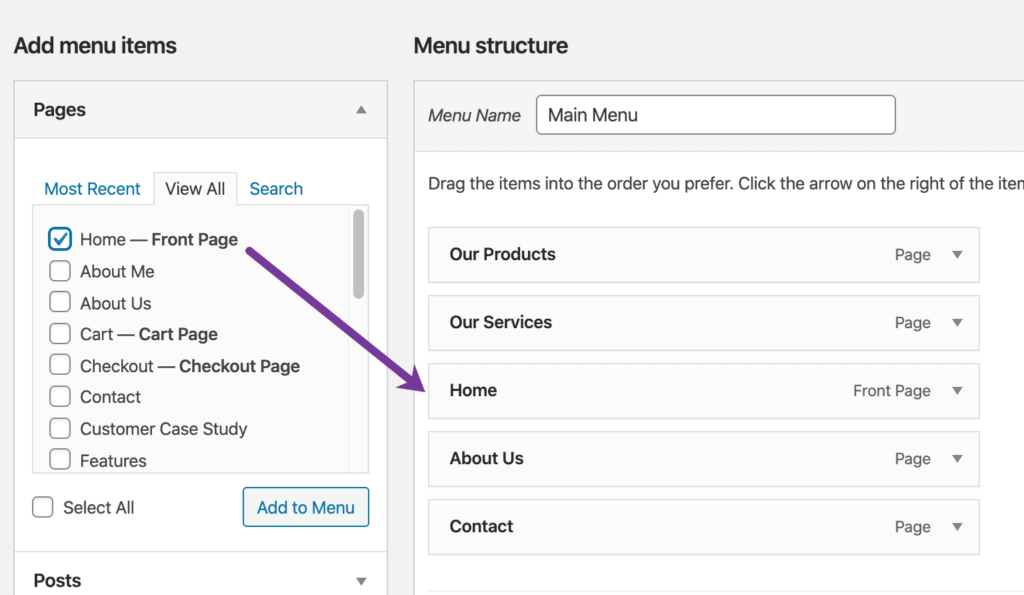
In the Pages section, go to "View All" tab, tick the top-most Home and click "Add to Menu" button.
Drag the Home menu item in the middle with menu items above and below it.
Step 3
If you have not already, edit your Main Catch-all template and add a Header Builder component.
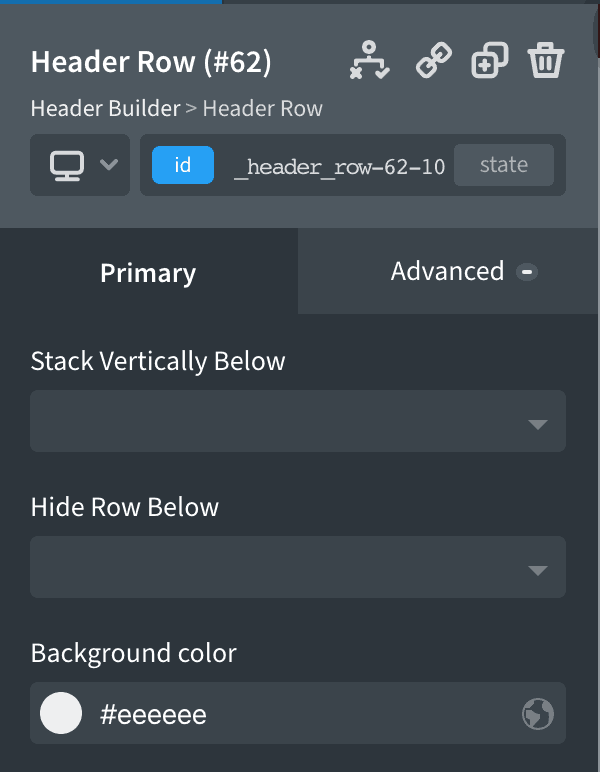
Add a Pro Menu component in the Header Row's center portion.
Select your menu if you have more than one menu in your WordPress site.
Configure the menu to your liking.
In my test site I used the "Desktop and Mobile" preset.
"Less than 992px" is the default breakpoint at which the menu collapses into the hamburger. You may change this if you wish.
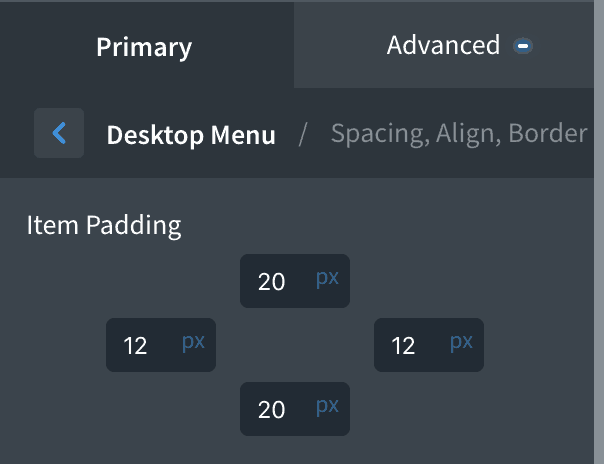
Add an Image component, browse and select the logo image and set the width and height. This is going to be shown at smaller widths. Click the link icon and set the URL to / so the logo points to the site's homepage.
You may want to give a top and bottom margin of say, 10px for the Link Wrapper.
Set its Display to none so it does not appear on desktop widths.
Move the Link Wrapper above the Pro Menu via the Structure panel.
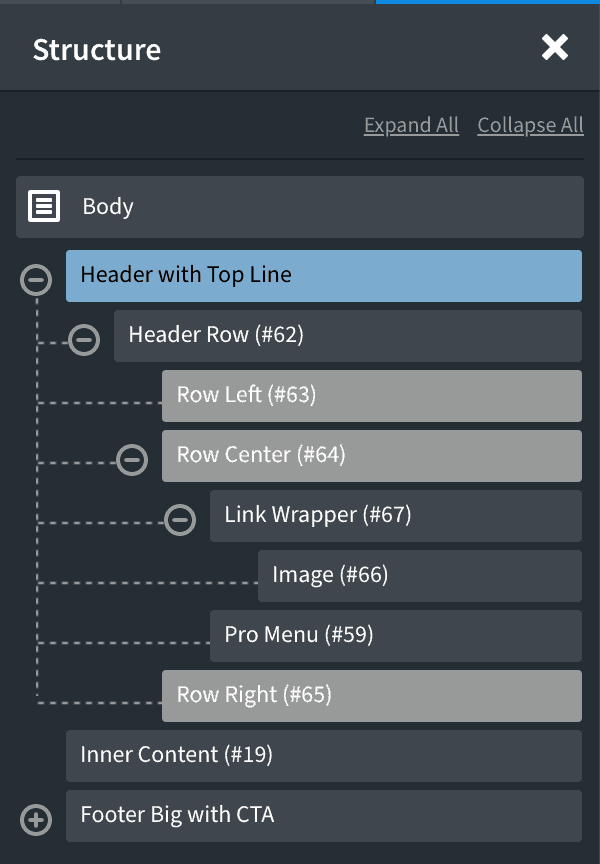
Switch to your mobile breakpoint and set the logo Link Wrapper's Display to block.
Add the following CSS in a Stylesheet at Manage > Stylesheets:
This is a premium members-only content.
To view the rest of the content, please sign up for membership ($47/month or $599 one-time).
Already a member? Log in below or here.