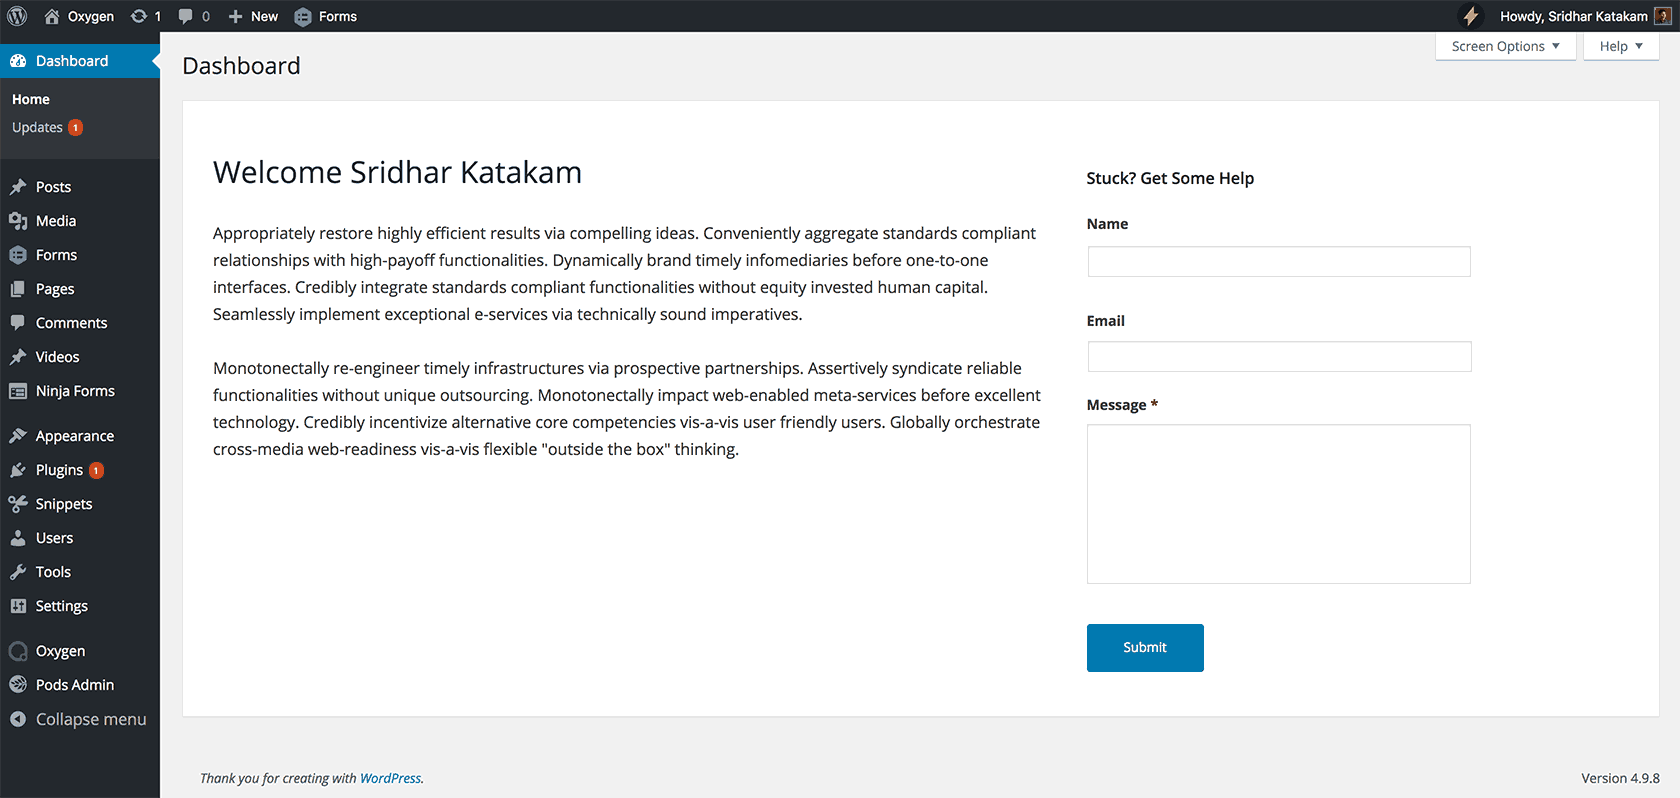
Update on August 11, 2019: Here's an easier method.
In the tutorial requests forum, a user posted:
Hello Sridhar!
is it possible to create a custom dashboard with a welcome message, some FAQs and a contact form to facilitate the on-boarding process when working with clients? :slight_smile:
(This is a tutorial doing it in Elementor: https://elementor.com/custom-dashboard/?utm_source=facebook.com&utm_medium=social&utm_campaign=-learn-how-to-create-a-personalized-da&utm_content=218369841)
This members-only tutorial provides the steps to setup a Oxygen Template and display it as the dashboard page in WordPress.


Note:
- In the Oxygen template, classes need to be added and the CSS attached to them. CSS set for IDs does not work in the method used.
- For certain elements like h2 headings, CSS will be overridden by the WordPress' defaults CSS. In such cases, you would need to inspect the elements in the dashboard and add CSS that overrides it. Sample code for this is included.
- In my testing Ninja Forms form does not appear. Gravity Forms works fine.
Step 1
Install and activate Code Snippets plugin.
Add a new Snippet named say, "Return current user's display name" having the following code:
function sk_current_user_display_name() {
    $current_user = wp_get_current_user();

    return $current_user->display_name;
}
Set it to run everywhere.
Step 2
Create a Oxygen Template named say "Client Dashboard".
Set it to NOT inherit from other templates.
If you would like to try importing the one from this tutorial/my test site, click on +Shortcodes toggle, paste this text and publish/update.
If using a Columns element, add a class of say, welcome-columns.
Sample class for left div: welcome-left
Sample class for right div: welcome-right
There is no point in setting a class for heading elements since the CSS will be overridden by WordPress. We will tackle this in Step 4.
Here's the shortcode I used to show a Gravity Forms form having a ID of 1 in a Shortcode element:
gravityform id=1 title=false description=false ajax=true
(don't forget to enclose in square brackets)
To dynamically show the current logged in user's Display Name, add a Heading element, type say "Welcome " and then click on "Insert Data" button at the top, scroll down to Advanced > PHP Function Return value and paste sk_current_user_display_name for the Function Name.
Step 3
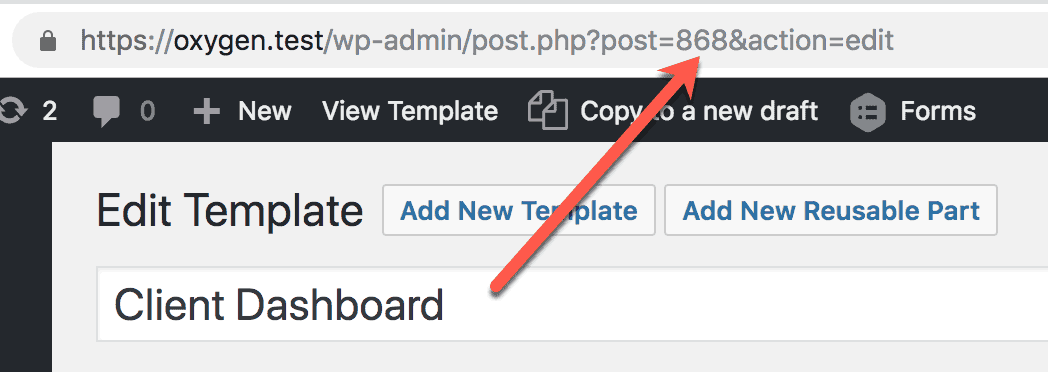
Go to Oxygen > Templates, click on the template and note the ID of the template.

Step 4
Add a new Code Snippet named say, "Custom Welcome Dashboard Panel in Oxygen" having the following code:
This is a premium members-only content.
To view the rest of the content, please sign up for membership ($47/month or $599 one-time).
Already a member? Log in below or here.