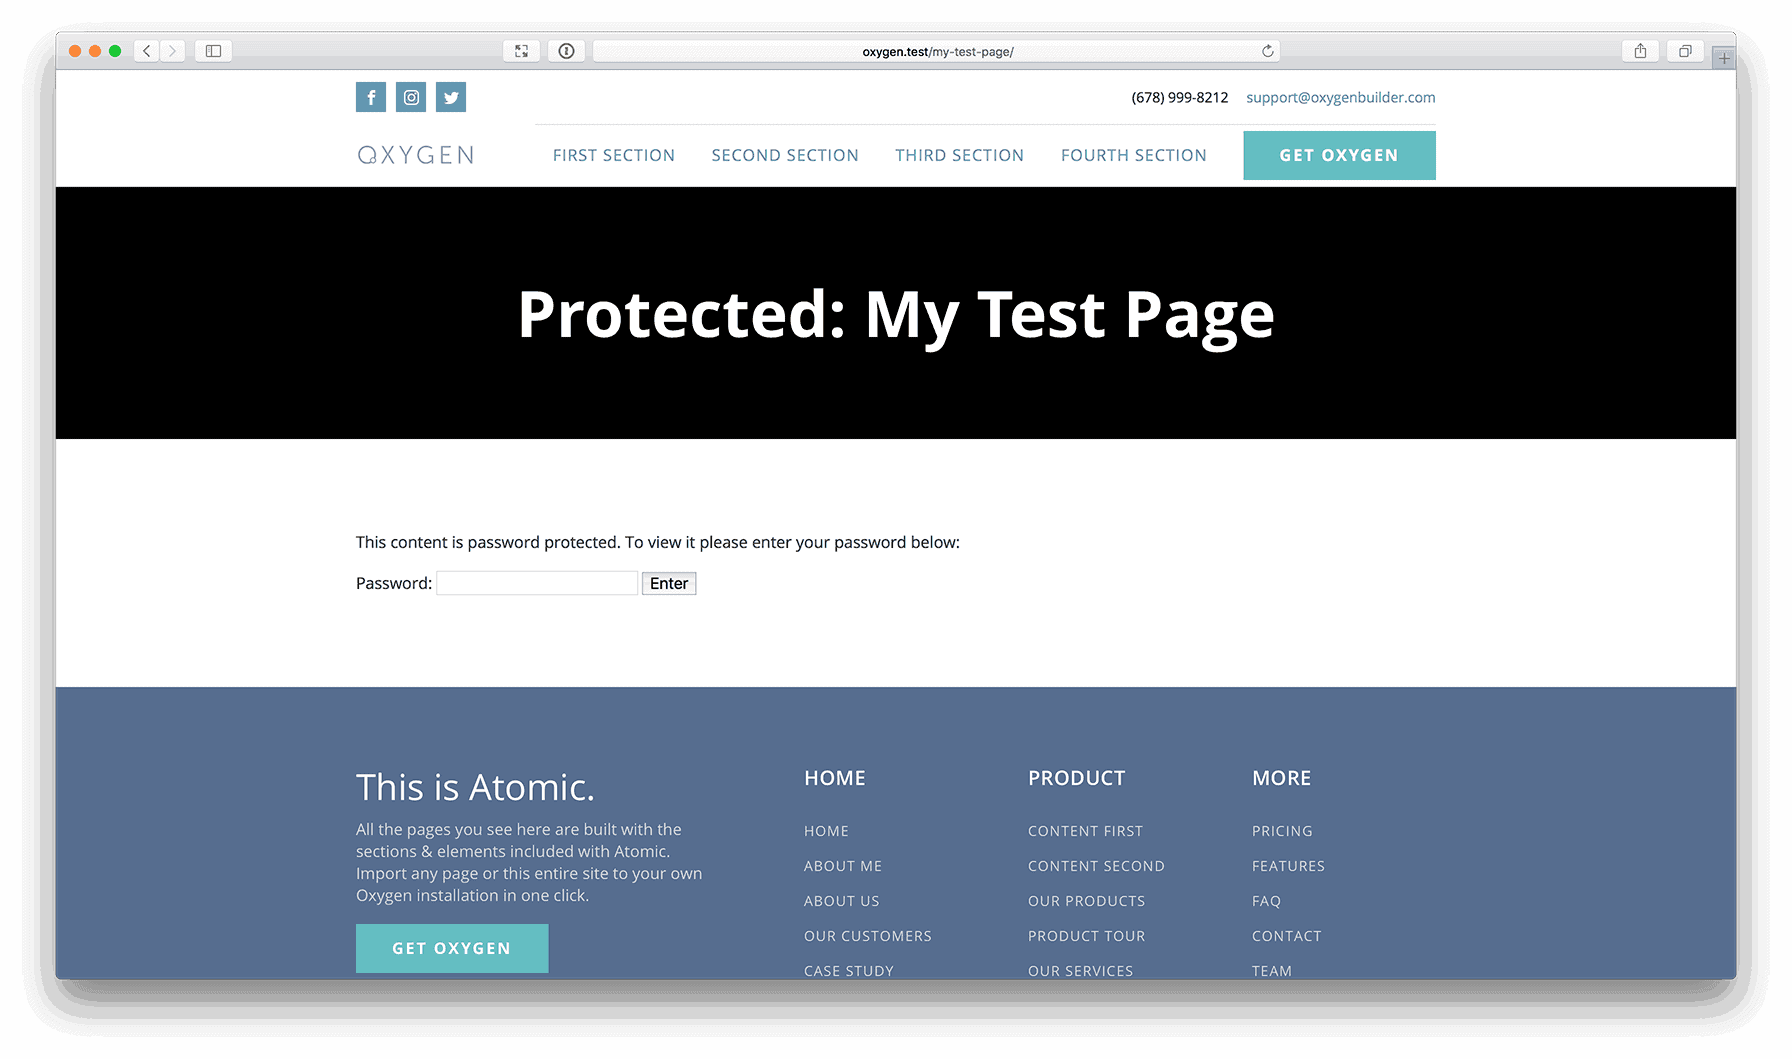
Update on March 24, 2020: You might want to follow this newer and better method instead. Application.
WordPress comes with a built-in functionality to password protect single entries like pages/posts etc.
When we set a password for an entry that’s built with Oxygen, only the entry content area (what’s coming from the WordPress editor) will be protected but not the rest of the sections and divs that are built visually in the Oxygen’s editor.
This tutorial provides a workaround for this problem so the entire content of the single pages can be password protected.

The idea is to build out the content in a reusable part and display it conditionally via a Code Block.
Step 1
Go to Oxygen > Templates and add a Reusable Part.
If your Page title is say, “My Page”, you could name this as something like “My Page – Protected Content”
Edit with Oxygen and build your entry’s content in here. Save and go back to admin.
Make a note of the ID from the URL.
Ex.: If the URL is https://example.com/wp-admin/post.php?post=652&action=edit, the ID of the reusable part is 652.
Step 2
Add/Edit your Page that you wish to password protect (“My Page” in our example).
In the Publish metabox, change visibility from Public to “Password protected”, set your desired password, press OK and publish/update.
Step 3
Edit the Page with Oxygen.
Add a Code Block element having this code in the PHP & HTML area:
<?php
    if ( post_password_required() ) {
        echo '<div class="ct-section"><div class="ct-section-inner-wrap">' . get_the_password_form() . '</div></div>';
    } else {
        echo do_shortcode( get_post_meta( 652, 'ct_builder_shortcodes', true ) );
    }
?>
Replace 652 with the ID from step 1.
That’s it.
Repeat the steps for every entry that you wish to password protect.