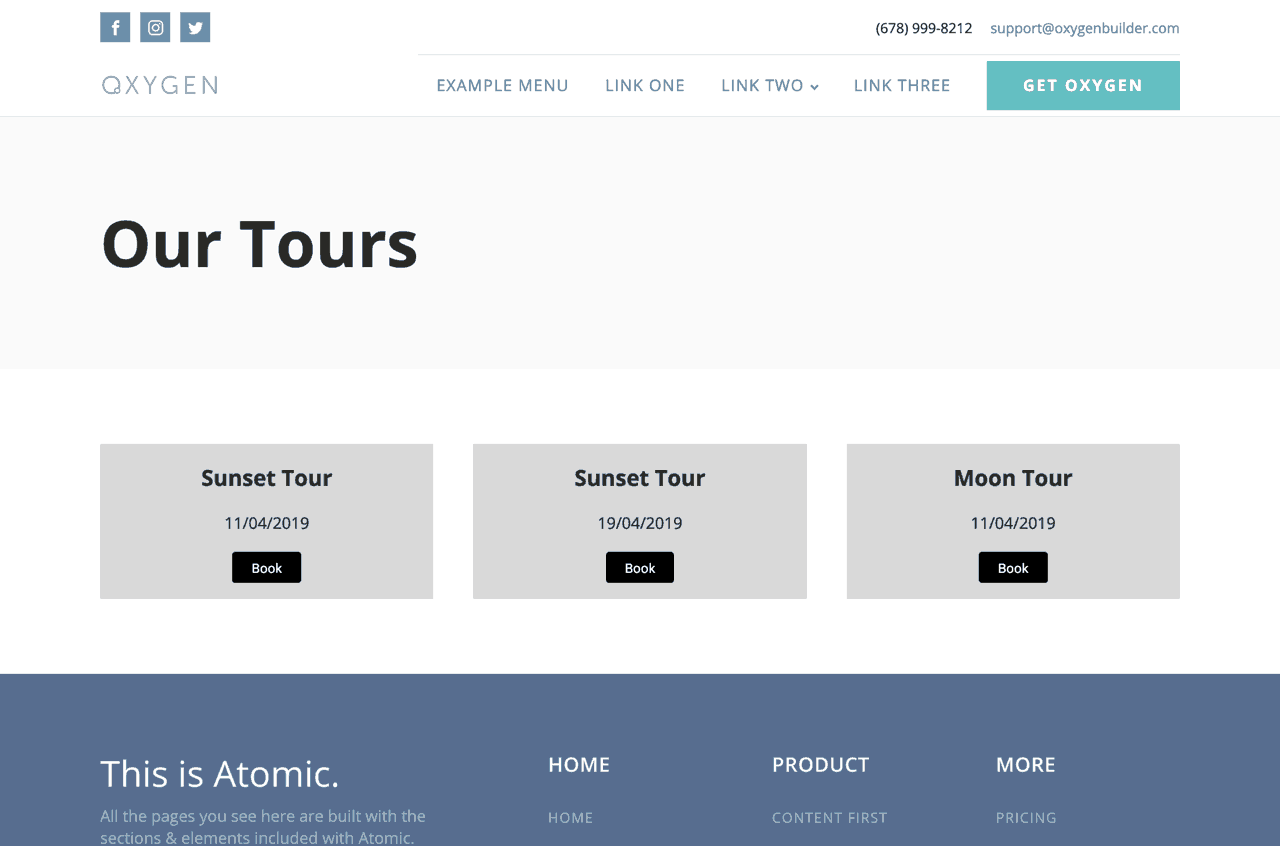
In Oxygen’s Facebook group a user asks:
Hey guys, i have custom post types for some items which the user can book. in the frontend the user should click on the item and gets redirected to a form, where the parameters of the items are still filled out in the form.
Any tutorial out there on how to doing that?

This members-only tutorial provides the steps to pass the corresponding values of tour_name and tour_date custom fields associated with a tour Custom Post Type when the “Book” button is clicked on the CPT archive page to a Page having the booking form powered by Gravity Forms.


Step 1
Install and activate Custom Post Type UI plugin.
Go to CPT UI > Add/Edit Post Types and add tour CPT.

Enable archive for the CPT and optionally set the archive slug to tours.

Step 2
Install and activate Advanced Custom Fields.
Go to Custom Fields > Add New.
Create a new group titled say, “Tour Details” having “Tour Name” text-type field and “Tour Date” Date Picker field.
Apply the group to Tour CPT.

Note the Return Format for the date field. We need to use the same format in the Gravity Forms form later on.
In my test site, I left it at default: d/m/Y.
Step 3
Go to Tours > Add New.
Add as many tour CPT entries as applicable.
Ensure that you fill the Tour Name and set a date for each.

Step 4
Install and activate Gravity Forms.
Add a new form titled say, “Tour Booking Form”.
Click on your desired standard fields at the right like Name (under Advanced Fields) and Paragraph Text (for additional comments).
Add a single line text field.
Field Label: Tour Name
This is a premium members-only content.
To view the rest of the content, please sign up for membership ($47/month or $599 one-time).
Already a member? Log in below or here.

Leave a Reply