List of Cloneable Group Data from Settings Page with Meta Box
This members-only tutorial provides the steps to output the values of sub-fields of a cloneable group that is attached to a Settings page when using Meta Box.
We are going to
- create a settings page
- create a field group attached to the above settings page
- add a "Group" type of field in the field group having these sub-fields: text, author and image
- set the Group field to be cloneable
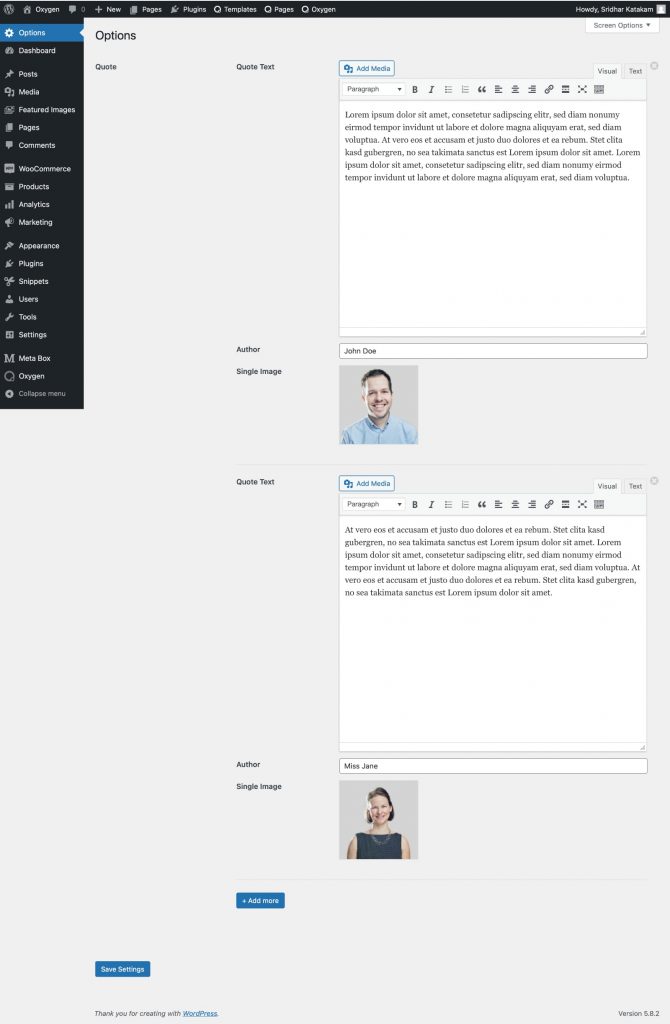
- on the settings page in the backend, populate the field group with a few sets of data (two in the screenshot below)
- write code to loop through the Group field's sets, pull the sub-fields' values and output them like this:
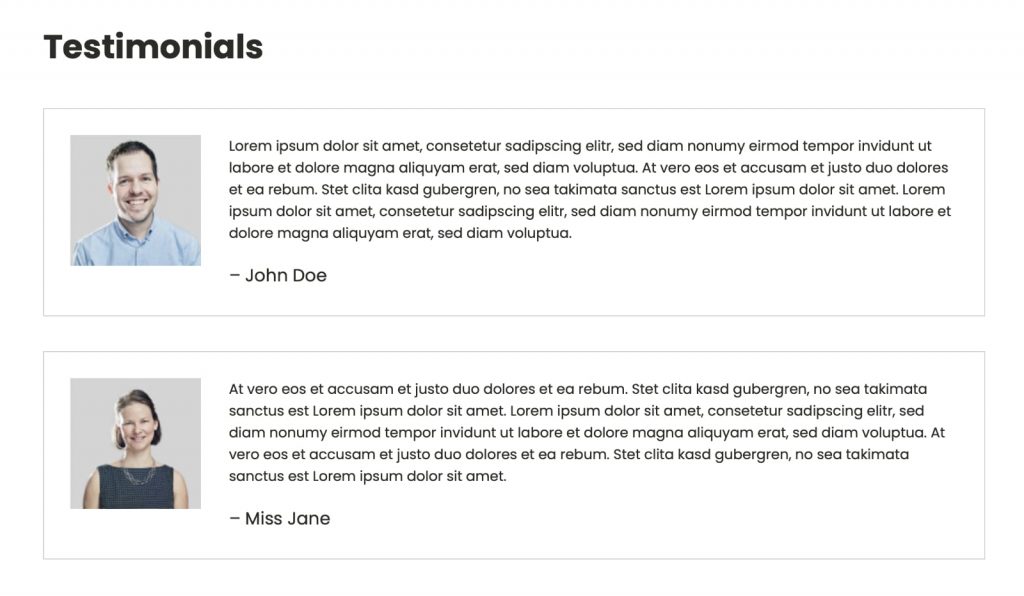
Update: A slight variation of the code for displaying one random set of group field's sub fields is provided at the end.
Step 1 – Register a Settings page
Install and activate Meta Box.
Next, install and activate either MB Settings Page + Meta Box Builder or Meta Box AIO.
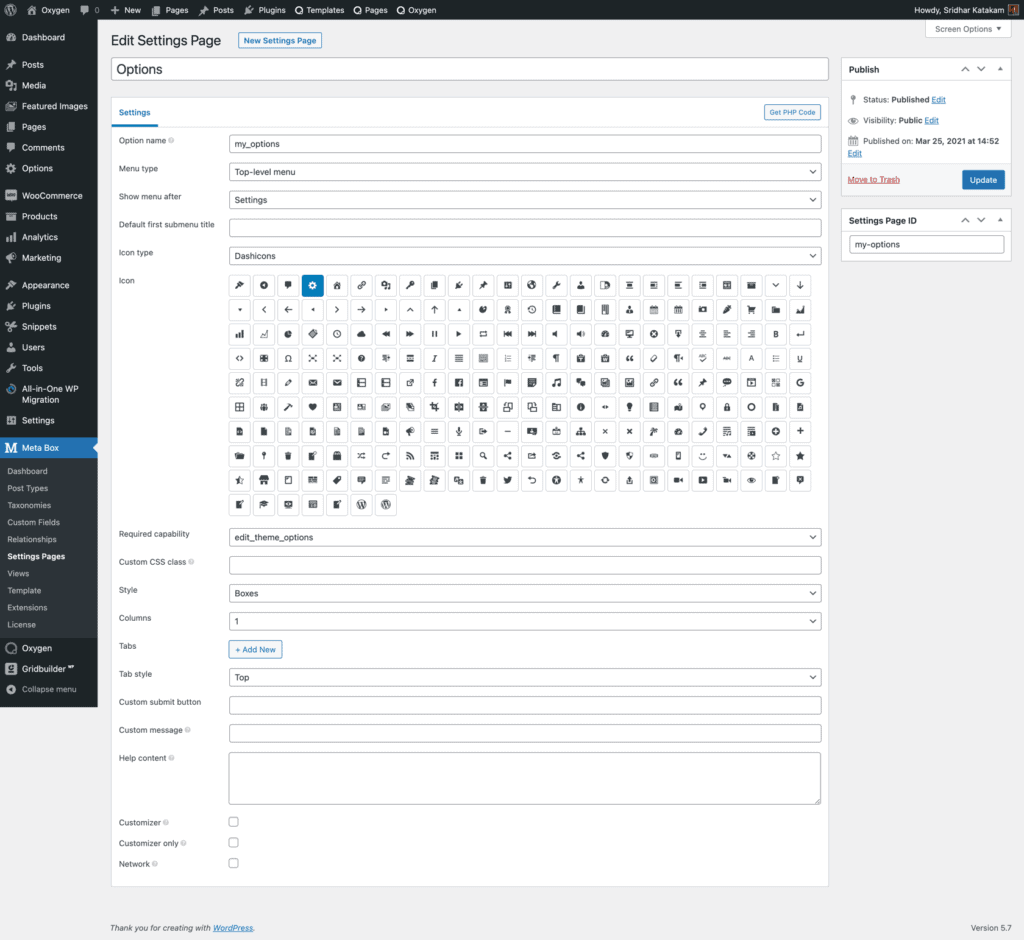
Go to Meta Box > Settings Pages and click New Settings Page.
Give it a title of say, "Options". This is only for organizational purpose and won’t be used in the code.
Option name: my_options
Select the gear (cog) icon.
Settings Page ID: my-options
Step 2 – Register a field group
Let's create a field group for our settings page.
Note: An export file from my demo site can be downloaded from here. Manual set up details below.
Go to Meta Box > Custom Fields and click Add New.
Give a title of say, "Sitewide".
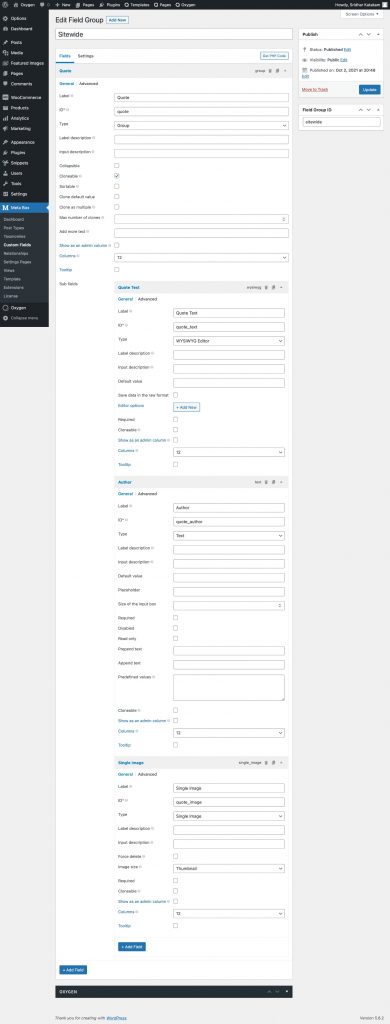
Add a field of type "Group".
ID: quote
Tick "Cloneable".
Add these sub fields:
quote_text- "WYSIWYG Editor" type of fieldquote_author- "Text" type of fieldquote_image- "Single Image" type of field
Set the field group to appear on the setting page created in the first step.
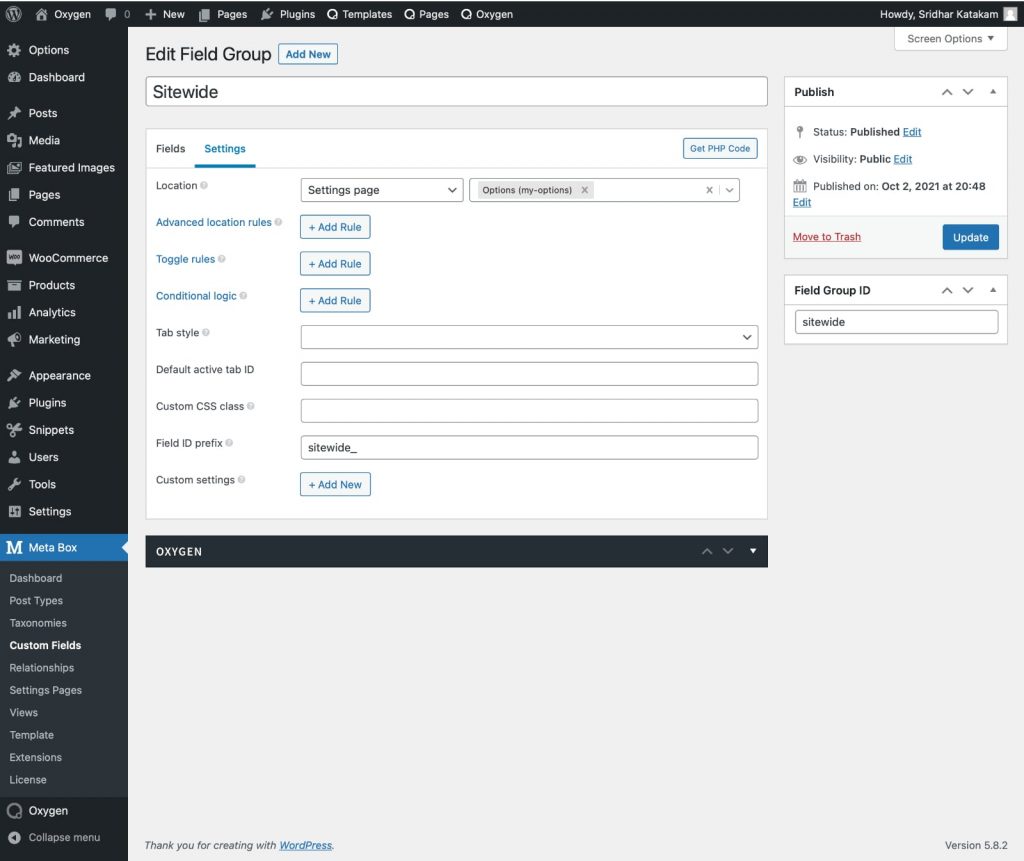
Note the sitewide_ string we have set as the Field ID prefix.
This means we can keep the ID of our fields simple like quote_text instead of sitewide_quote_text when adding the fields. In a later step when it is time to refer to the field, we need to use sitewide_quote_text even if the field ID appears as quote_text in the interface.
Step 3 – Populate the field group
Click Options in the WP admin left menu and populate the fields.
Step 4 - PHP
If using Oxygen, edit the Page where you want to show the output with Oxygen.
Add a Section and inside that a Code Block.
PHP & HTML:
This is a premium members-only content.
To view the rest of the content, please sign up for membership ($47/month or $599 one-time).
Already a member? Log in below or here.