Page-specific Galleries in Oxygen with Meta Box and GLightbox

This members-only tutorial provides the steps to display a WordPress Gallery in Oxygen from the images uploaded to Pages using Meta Box and GLightbox.
Step 1
Install and activate Meta Box AIO.
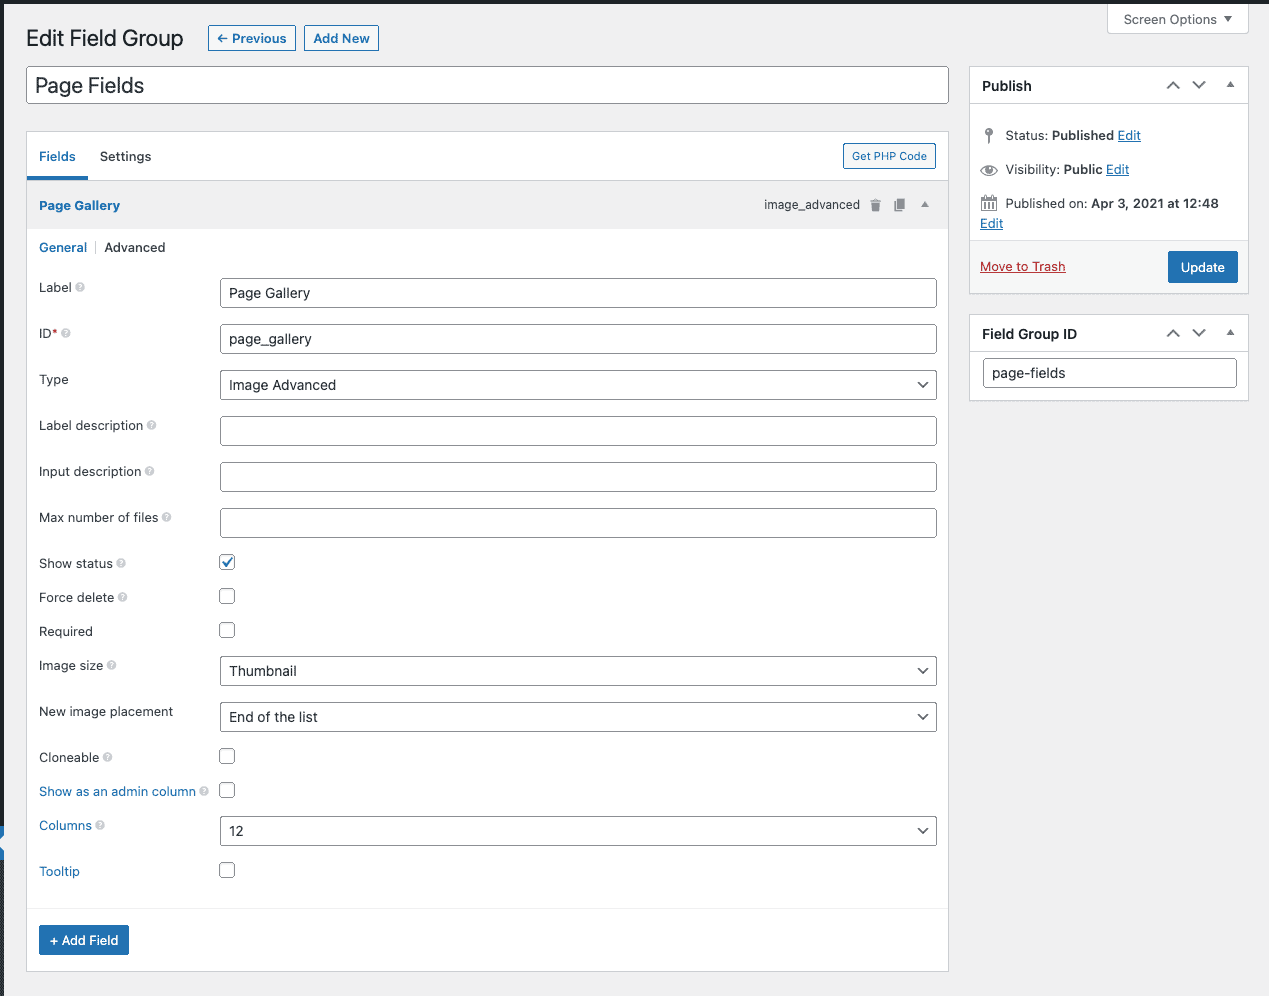
Go to Meta Box > Custom Fields and add a new field group having a field of the type "Image Advanced".
In the Settings area, select the desired location where you want to attach the field group to.
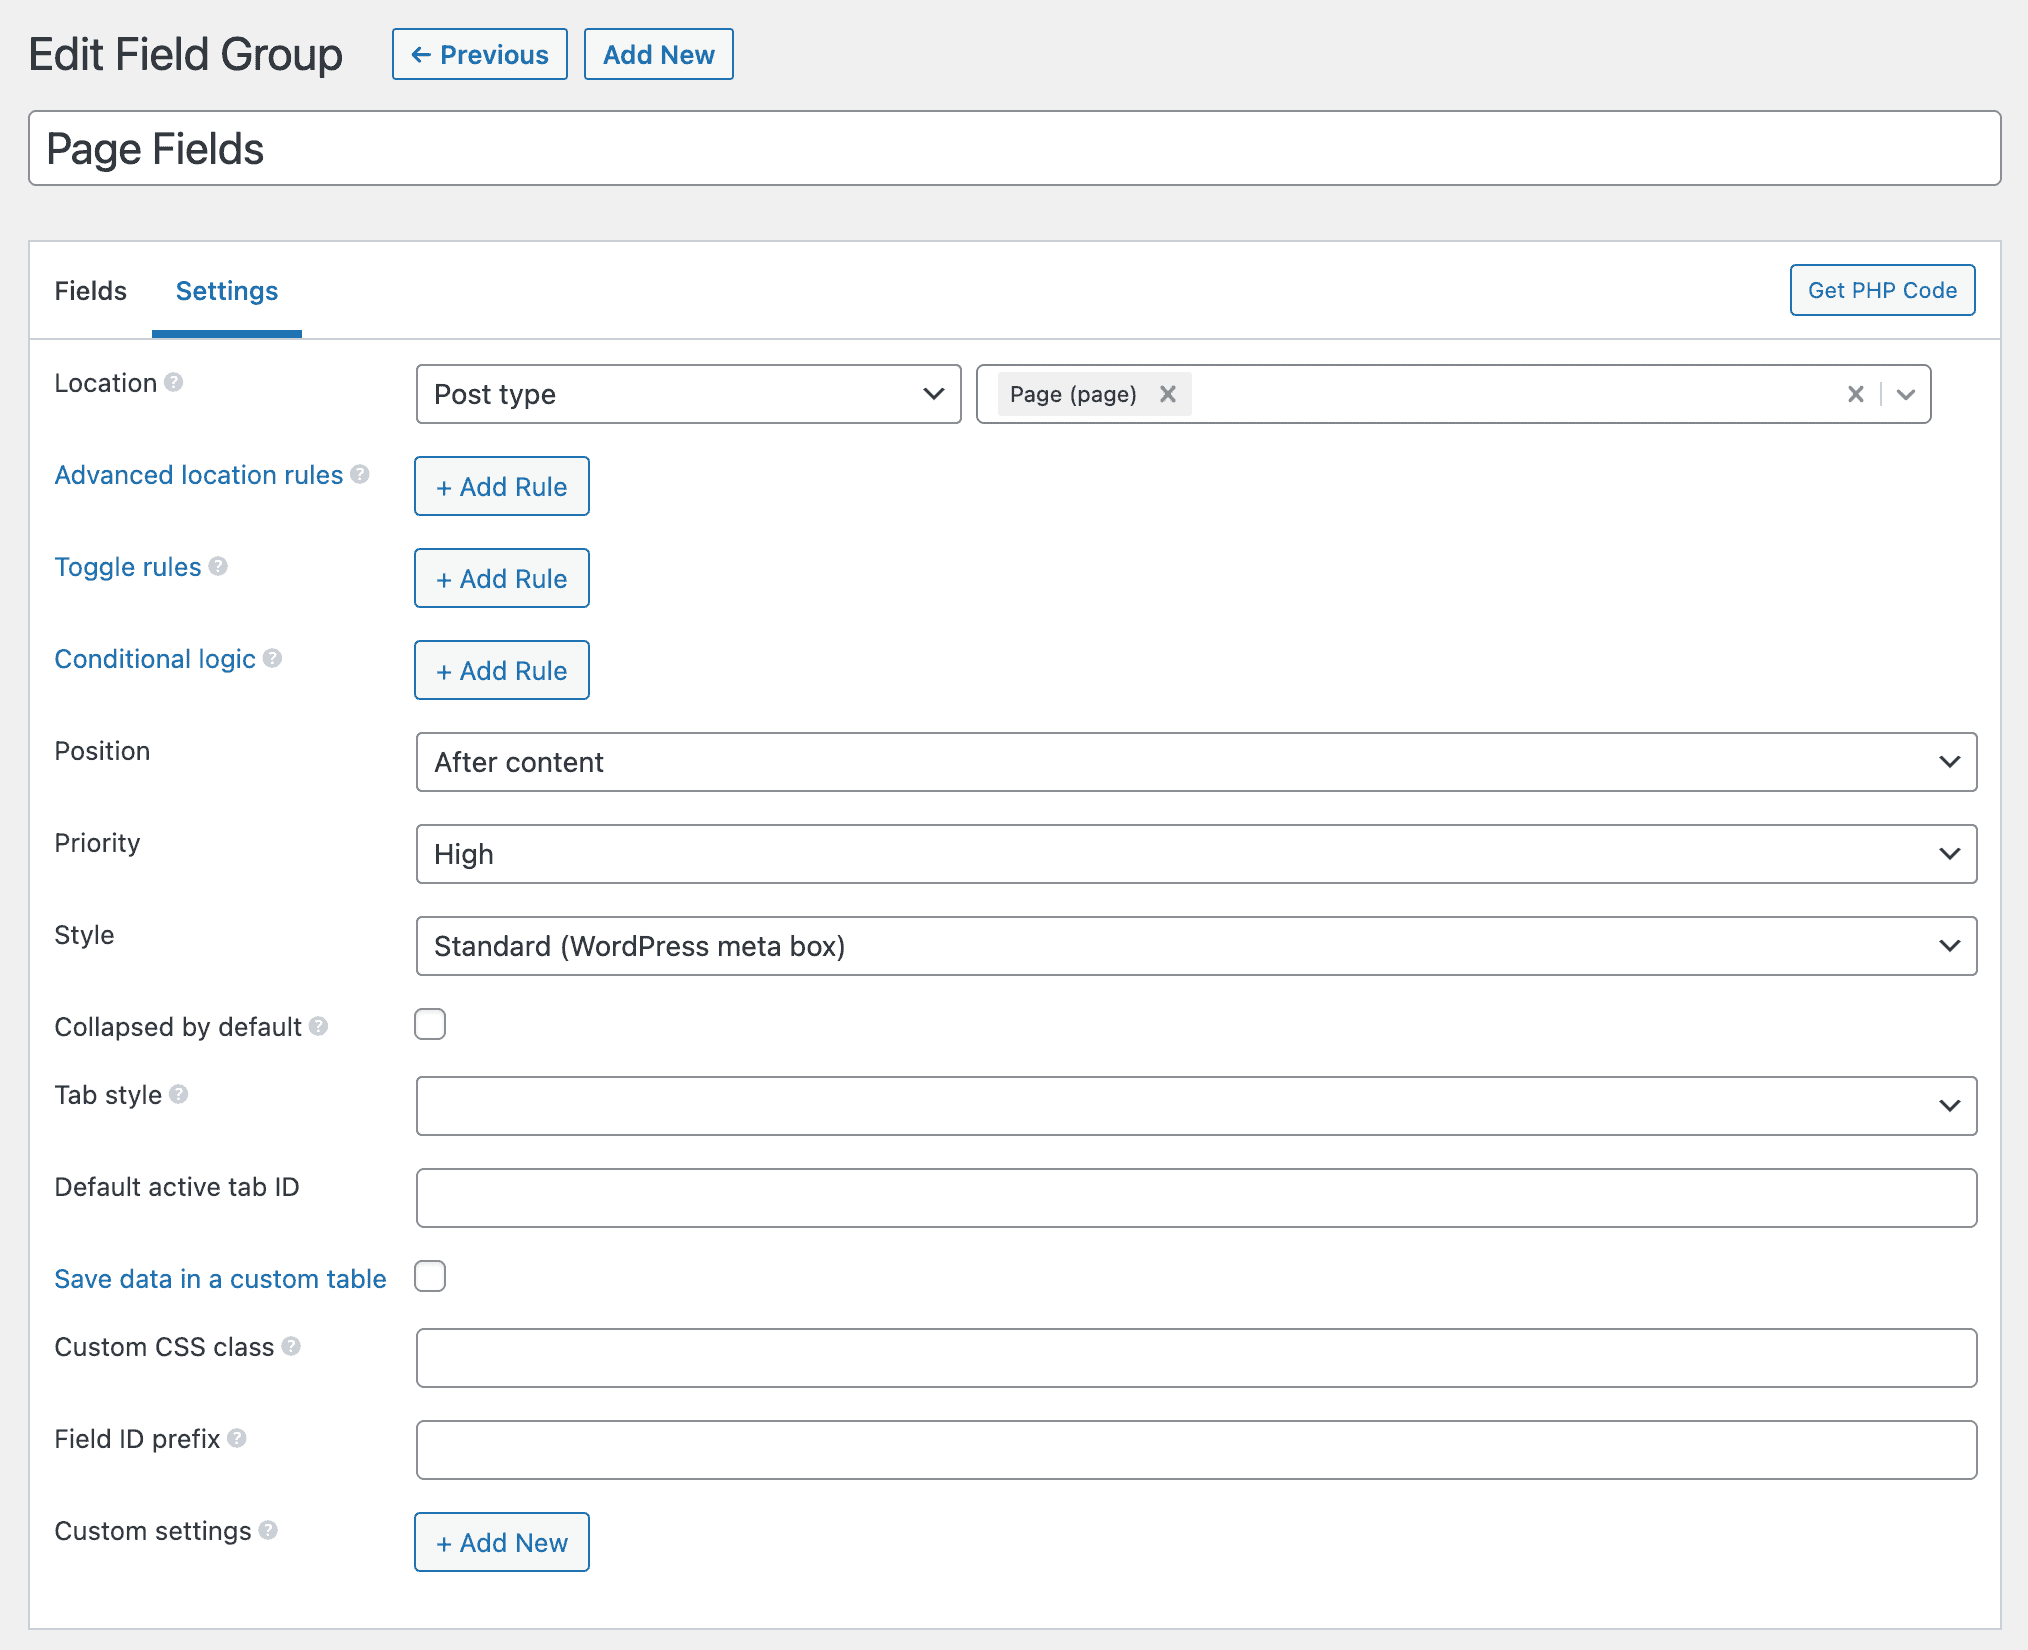
In this example, let us set it to appear on all static Pages.
Step 2
Edit your Page(s) and populate the field.

Step 3
Register a custom size for the images in the gallery.
Install and activate Code Snippets plugin.
Go to Snippets > Add New.
Title: Custom image sizes
Code:
add_image_size( 'gallery-image', 600, 338, true ); // 16 x 9Set the snippet to run everywhere. Save changes and activate.
If you are going to use images that are already present in the Media Gallery, regenerate thumbnails.
Step 4
Let us specify that the HTML output of WordPress galleries and other elements be in HTML5.
Add another code snippet.
Title: Add support for HTML5 markup
Code:
add_theme_support( 'html5', array( 'comment-list', 'comment-form', 'search-form', 'gallery', 'caption' ) );Step 5
Edit the Oxygen Template that applies to all the static Pages with Oxygen.
Add a Section where you would like to show the Page Gallery - say, below the content.
Add a Heading that reads something like "Gallery".
Add a Code Block.
Set its width to 100%.
PHP & HTML: