
This members-only tutorial shows how we can set up previous and next buttons inside Oxygen's tabs content that enables visitors to navigate to the previous and next tabs respectively.
Step 1
Add a Section and inside that a Tabs component.
Wrap the Tabs div that gets added in a Div and move the Tabs Content also inside it.
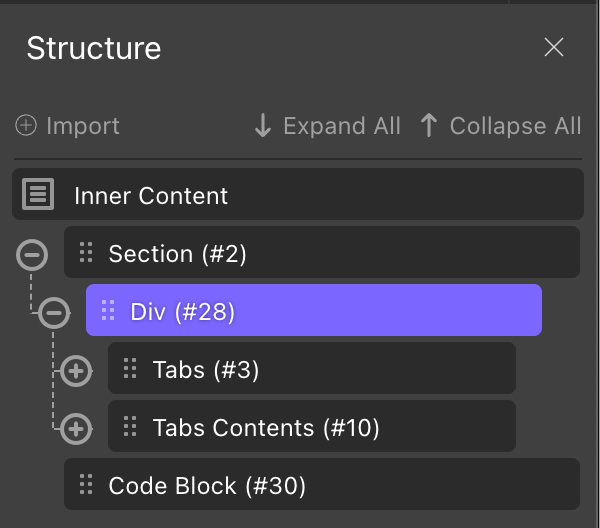
Assign a class of has-tab-navigation to this Div.
Width: 100%Max-width: 600pxMargin on left and right: auto
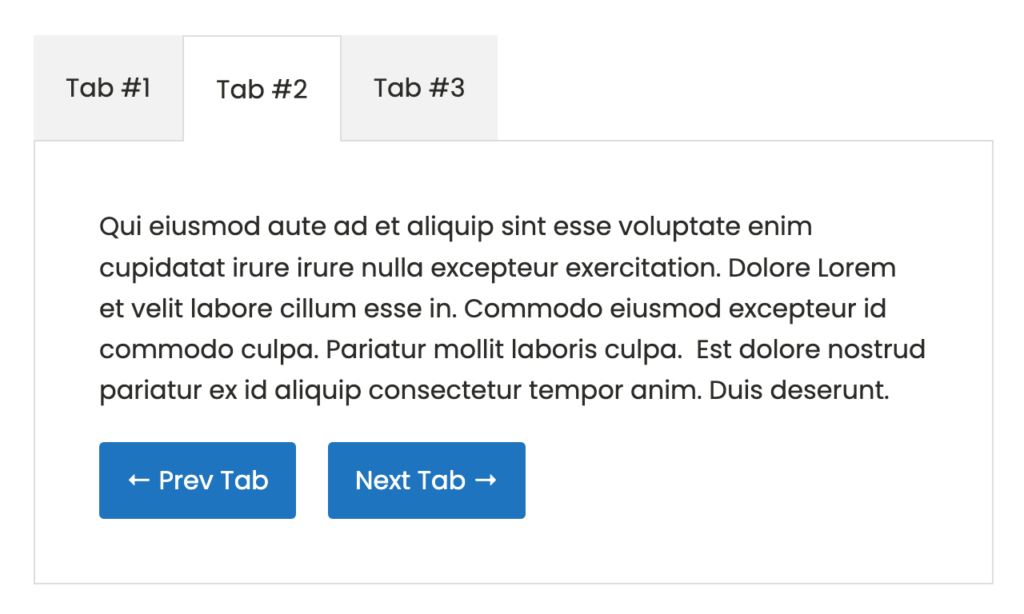
Edit the tab titles and contents as needed.
Step 2
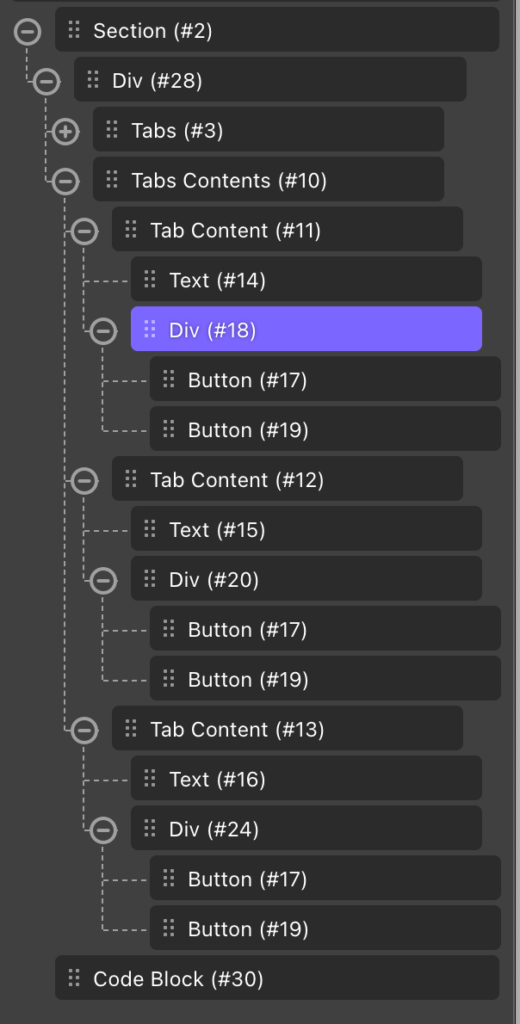
Add a Div inside the first Tab Content having two Buttons.
Give the top Button a class of prev-tab.
Set the URL to #.
Content: ← Prev Tab
Give the bottom Button a class of next-tab.
Set the URL to #.
Content: Next Tab →
Duplicate this buttons' Div and place it inside each Tab Content after your tab content element(s).
Step 3
If you'd like the tabs to look like real tabs, add the CSS from Step 2 of our Styling and Mobile Accordion for Oxygen Tabs tutorial.
Step 4
Add a Code Block as the last element in your structure.
PHP & HTML:
<?php
	// echo "hello world!";
?>
CSS:
.has-tab-navigation .oxy-tab-content:first-child .prev-tab.ct-link-button,
.has-tab-navigation .oxy-tab-content:last-child .next-tab.ct-link-button {
  background-color: #ddd;
  color: #ccc;
  border-color: transparent;
}
JavaScript: