Updated on October 09, 2020
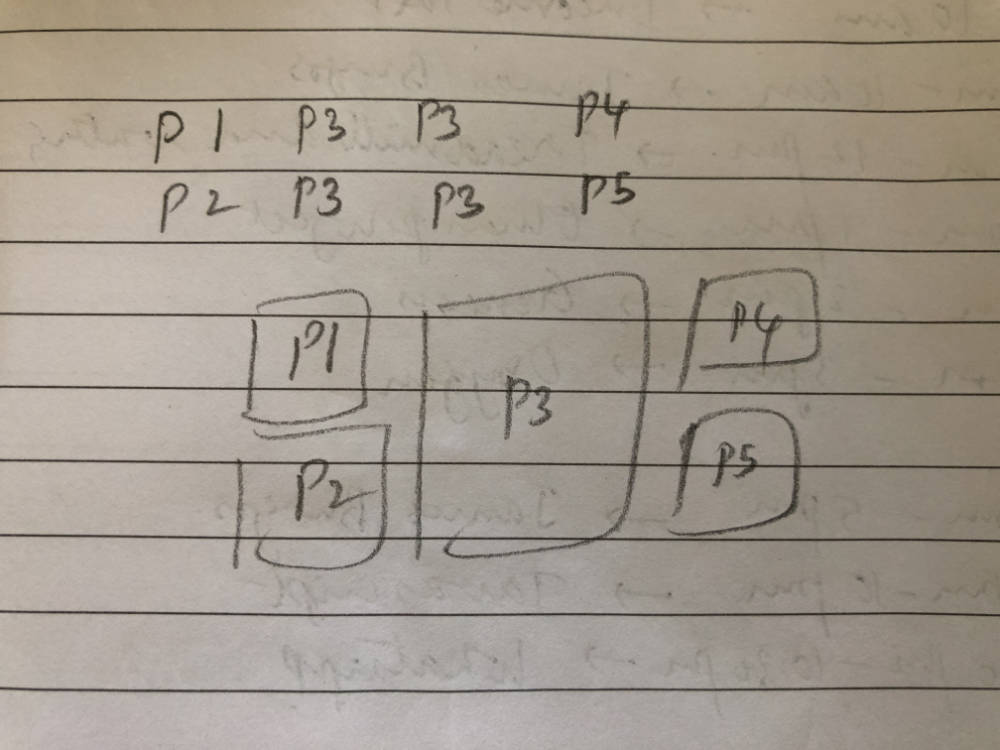
This members-only tutorial provides the steps to arrange posts output by Oxygen's Easy Posts component in a custom layout using CSS Grid's grid-template-areas.

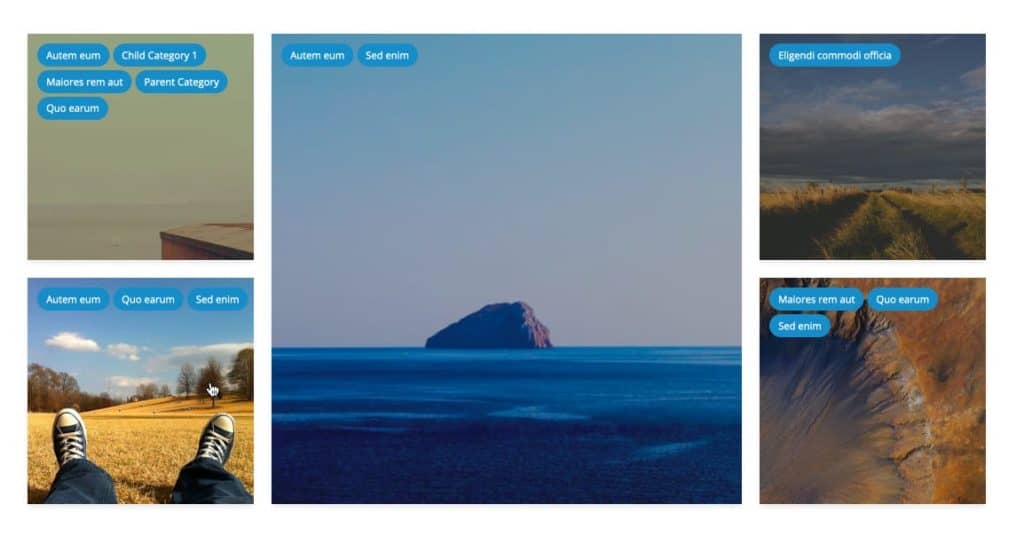
Post categories (linking to their category archives) will be positioned near the top left of posts' featured images.
The entire image will be set to be clickable to the post's permalink.

From 767px and below, we shall set the posts to appear one below the other.
Step 1
Since the maximum width taken up by the images for any given viewport is close to 800px (767px - 40px of padding = 727px to be exact), let's define a custom image size of say, 800px by 800px and display the images in this size.
Install and activate Code Snippets plugin.
Go to Snippets > Add New.
Title: Custom image sizes
Code:
add_image_size( 'square-thumbnail', 800, 800, true );Regenerate thumbnails if your posts already have featured images set.
Step 2
Edit Page/Template where you want to display the posts grid in Oxygen editor and add an Easy Posts component.
In this example, we shall display the posts grid on a static Page.
Go to Query and set the WP Query to custom.
Select post Post Type and set Count to 5.
Styles > Responsive. Set "Posts are 50% Width Below" to Never.
Go to Templates > Template PHP. Replace all the code with
This is a premium members-only content.
To view the rest of the content, please sign up for membership ($47/month or $599 one-time).
Already a member? Log in below or here.