
This tutorial provides the steps to get a working SSL on localhost sites when using Local on M1-chip Macs.
Step 1
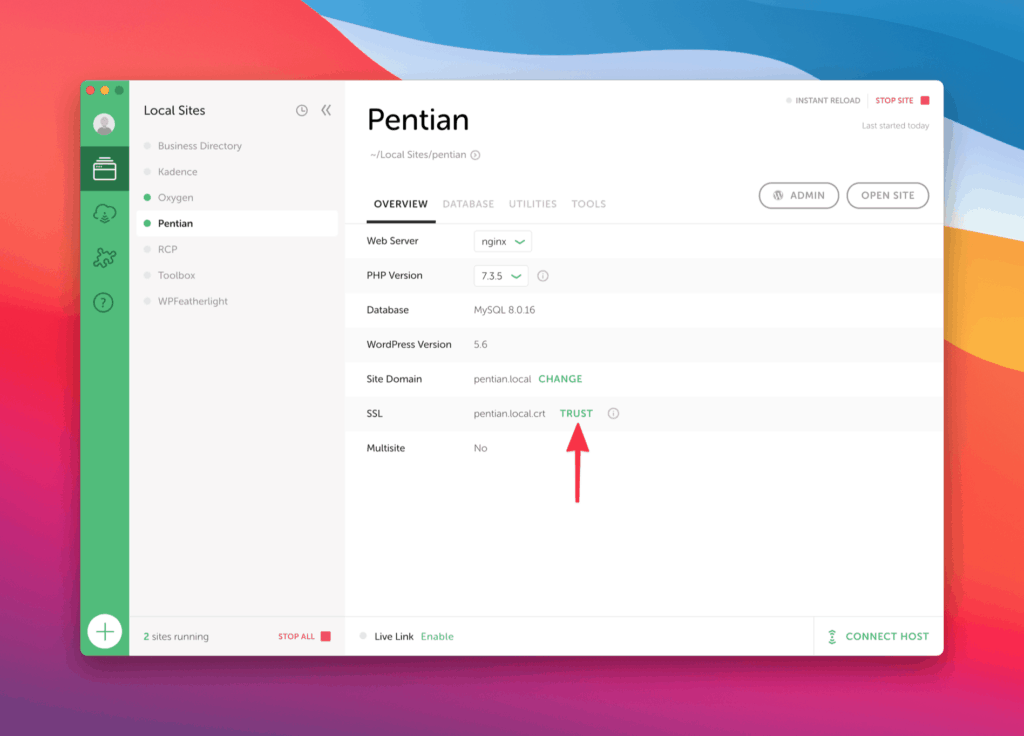
After creating the site in Local, click on TRUST next to SSL for the site.
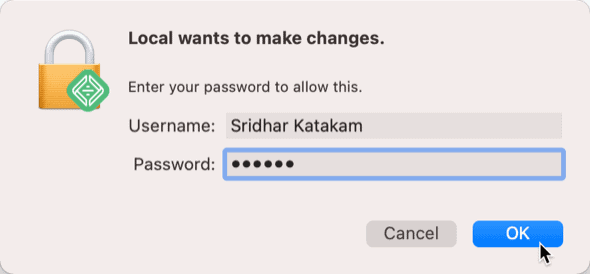
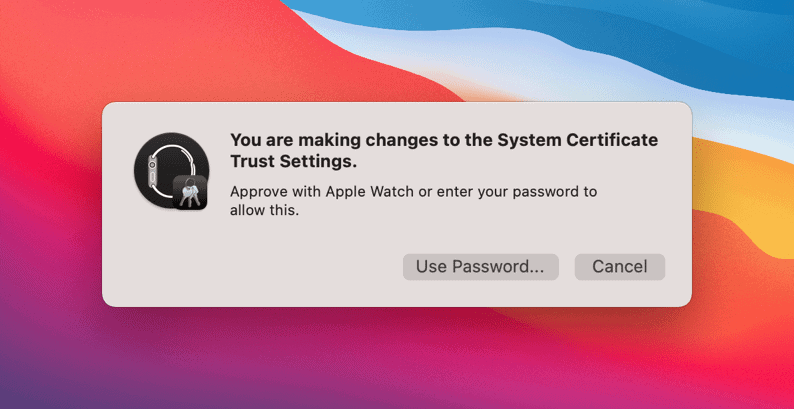
Enter your computer admin user password and click OK.
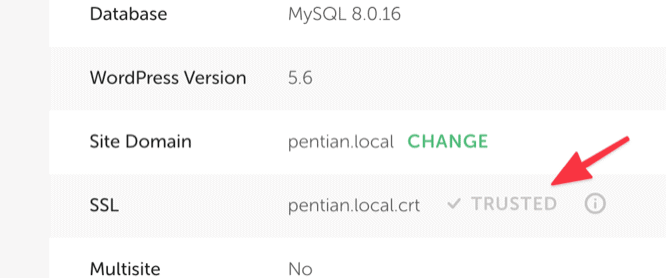
Click on any other site in the sites list on the left and switch back to your new site.
It should now say TRUSTED.
Step 2
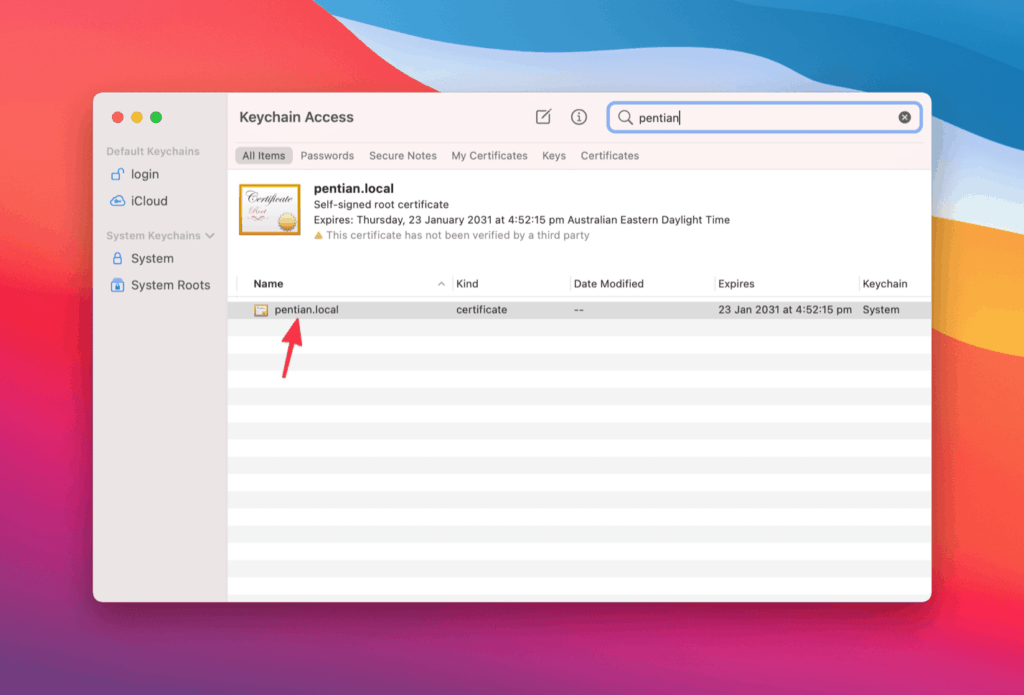
Launch Keychain Access.
Search for your site name.
Locate the certificate name that Local generates and double click on it.
Expand Trust.
Change When using this certificate dropdown’s value from Use System Defaults to Always Trust.
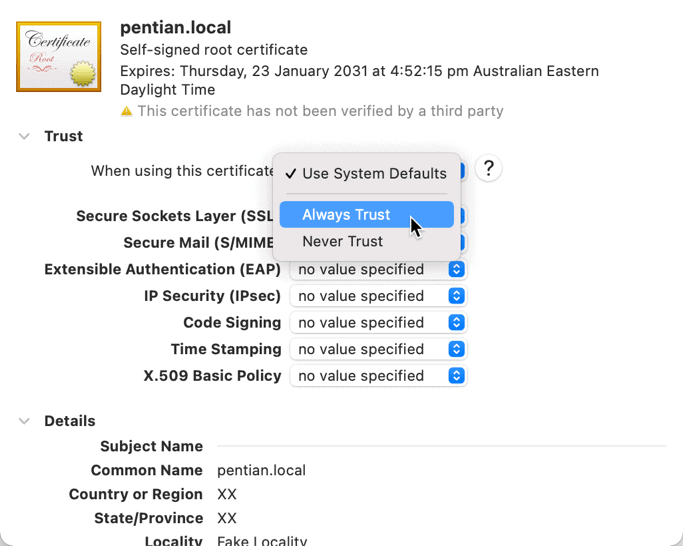
so it becomes
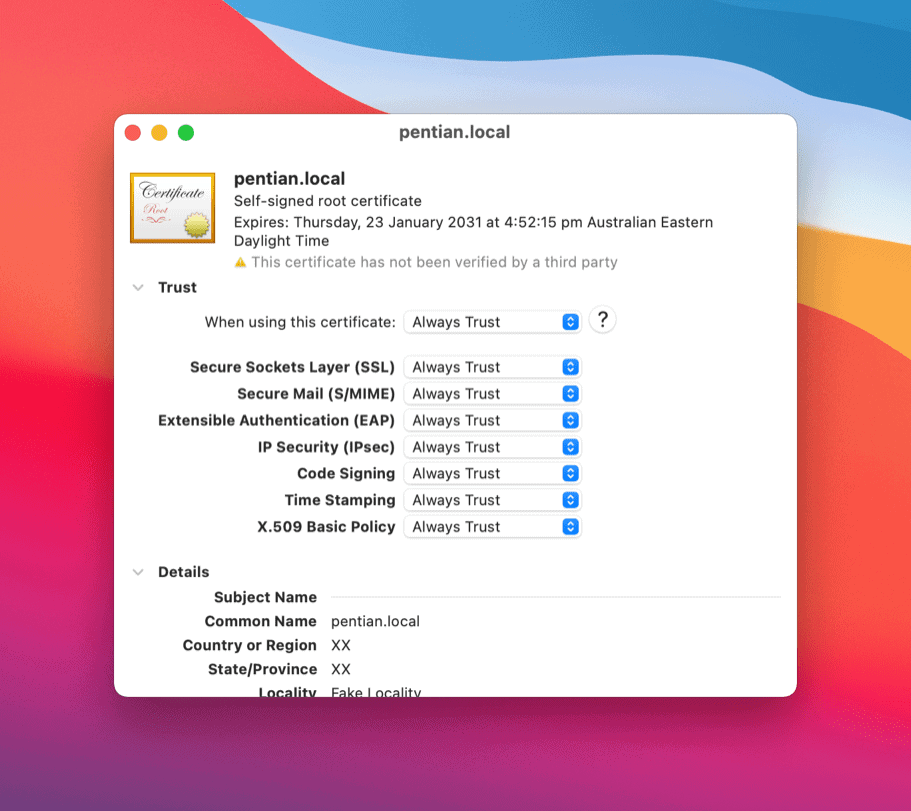
Confirm the change.
You may now quit Keychain Access.
Step 3
Stop all the sites in Local, quit Local and open it.
Start your site(s).
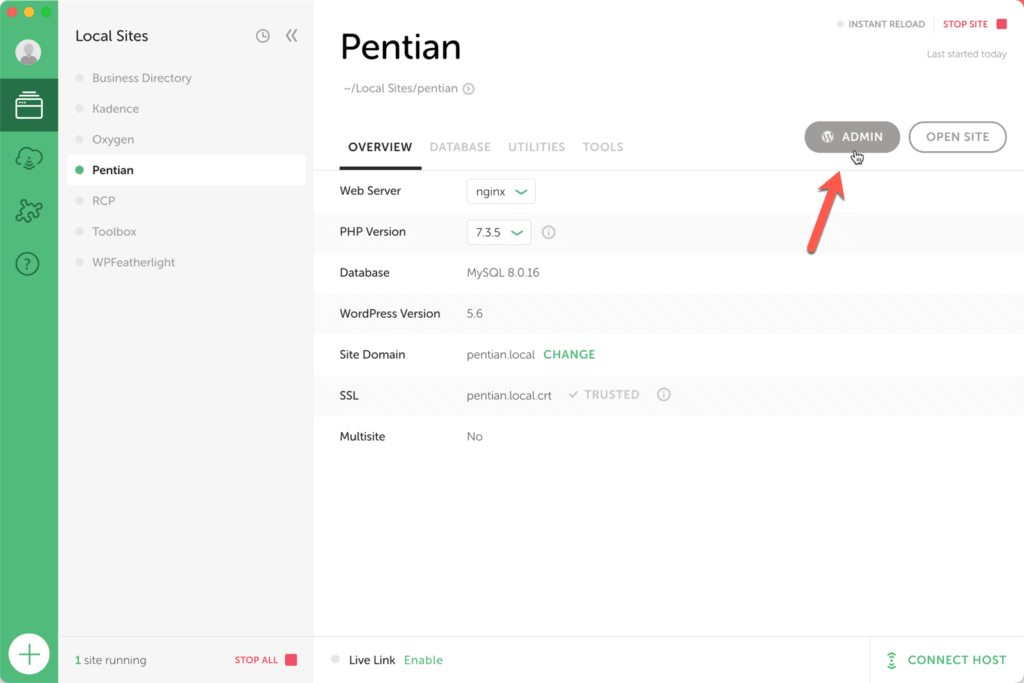
Click on ADMIN button to launch the WP dashboard.
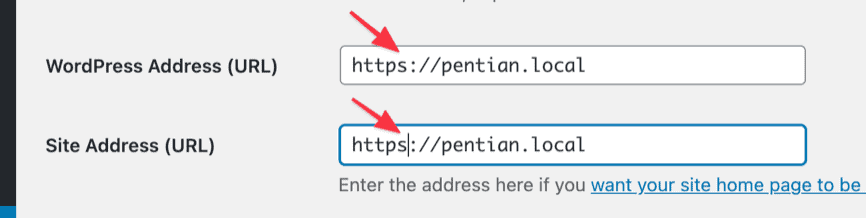
Log into the site and go to Settings > General.
Change http to https for both WordPress Address and Site Address URLs. Save changes.
and you are done!